A dented truck tailgate affects not only the vehicle’s aesthetics but its functionality and market value. For fleet managers, trucking company owners, and other professionals in logistics, understanding the intricacies of tailgate repairs is crucial for maintaining operational efficiency. This guide delves into the process of assessing the damage, DIY solutions for minor dents, and the expertise required for more severe damage, ensuring your fleet remains roadworthy and cost-efficient.
Assessing the Damage: The Critical First Step in Repairing a Dented Truck Tailgate
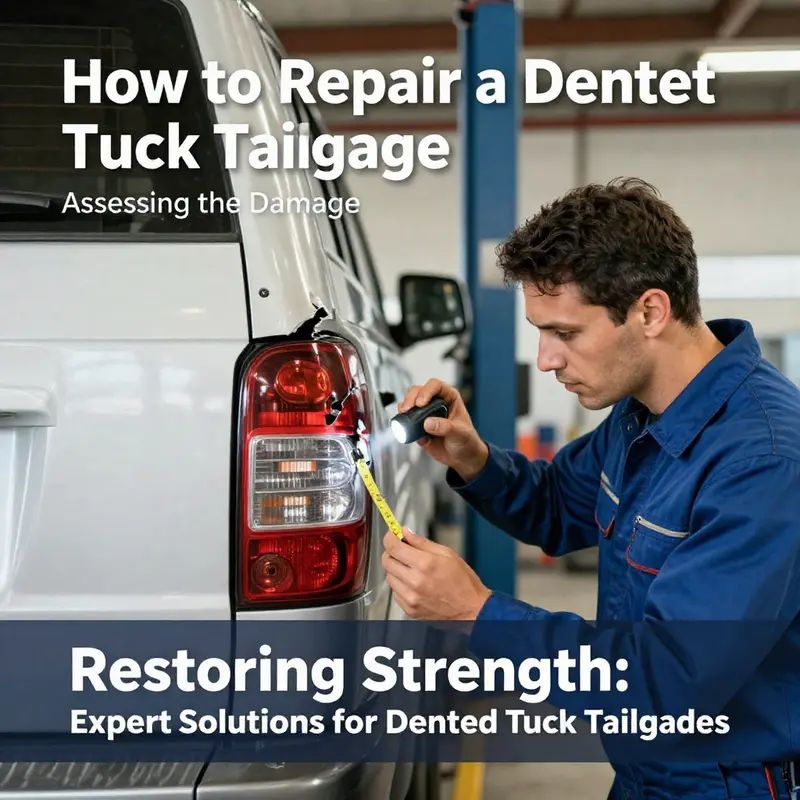
A dented tailgate is more than a cosmetic blemish; it’s a signal about how the metal, the paint, and the underlying structure have behaved under impact. The decision of what comes next hinges on a careful assessment of the damage. Rather than jumping straight into tools and techniques, the most economical and reliable path begins with asking precise questions: How deep is the dent? Where is it located relative to critical features like hinges, latches, and the wheel well? Is there any paint damage, and if so, how extensive is it? Each of these questions points toward a different repair route, from simple paint-free adjustments to professional reshaping or even tailgate replacement. The goal of this chapter is not to offer a recipe for every dent but to provide a rigorous framework for evaluating the tailgate’s condition so that you can decide, with clarity, whether a DIY approach is worth pursuing or whether a professional intervention is unavoidable.
Paint is the first and most telling clue. If the dent sits on a surface with intact, uniform factory paint and shows no chips or scratches at the edge, you have a signal that the metal surface has not been breached and the finish remains stable. This is the best scenario for a non-invasive repair, often termed a paintless dent repair approach in the broader automotive repair world. In practice, this means the metal has not stretched or cracked, and the indentation can potentially be coaxed back toward its original contour without disturbing the protective coat. The absence of paint damage also reduces the risk that attempting a repair will create new problems, such as color mismatch after repainting or the introduction of rust-prone surfaces down the line. When you observe no paint damage, you gain a window of opportunity to consider methods that preserve the tailgate’s factory finish and preserve resale value.
Depth and size are the next crucial coordinates in the assessment. Dent depth is not always easy to judge by eye, but it is a decisive factor in feasibility. Small, shallow dents—typically described in repair guides as less than two inches in diameter or shallow enough that the metal feels mostly flat under light touch—tend to be the prime candidates for less aggressive techniques. These dents usually respond to gentle realignment and controlled pulling without the risk of tearing or further distortion. By contrast, deeper dents that stretch, buckle, or create an uneven surface require more aggressive work. When the metal shows a pronounced crease, a buckle, or a visible stretch away from the original plane, the likelihood increases that paint might crack or the contour will require a more complex reshape than a simple pull can deliver. In a tailgate, where precision matters for latching alignment and weather sealing, such deeper deformations can also alter how the tailgate closes and seals against the bed; these are not concerns to ignore in an assessment.
The location of the dent bears its own implications. Dents on flat, broad portions of the tailgate are generally more accessible to a technician’s tools and more forgiving for attempts at reshaping. Dents near the margins, the hinge area, the edge where the tailgate meets the bed, or near a wheel well pose unique challenges. Edges concentrate force differently, making access with pulling tools more difficult and increasing the risk that the repair could introduce a new misalignment. A dent close to a hinge or a support reinforcement might also indicate that the tailgate’s structural integrity is compromised beyond the surface, an important sign that a repair could be temporary unless internal access is achieved. In such cases, a professional assessment becomes more compelling, because the repair strategy must consider not only the surface appearance but also the tailgate’s functional geometry and load path.
Assessing metal integrity is the fourth pillar of a robust damage appraisal. Look for signs of metal stretching, tearing, or unique distortions that imply the material has yielded under impact. When metal appears to have lost its original contour, or when the dent is accompanied by a faint crease running across the surface, that is often a cue that more extensive metalwork is needed. In the tailgate, where a precise fit is essential for weather sealing, alignment with the tailgate’s frame, and the correct strut or latch mechanism function, metal distortion raises the likelihood that a simple surface pull will not suffice. This is not a verdict of doom but a diagnostic signal that informs the repair path: shallow, paint-preserving dents may be addressed with less invasive methods; deeper distortions typically demand more controlled, factory-like reshaping, or even a tailgate replacement if the repair burden becomes excessive.
Based on this multi-faceted assessment, you can categorize the damage into practical pathways. Minor dents that leave the paint untouched and show only a shallow surface depression are the best candidates for at-home care. In this scenario, a suction-based pull or a small pull rod system can apply controlled force to coax the metal back toward its original plane, with the goal of a flush surface that doesn’t require repainting. The key here is to work with the constraint that the paint remains pristine and that the dent’s footprint is small and accessible from the tailgate’s exterior or interior, depending on your chosen method. The adhesives and tools used in this scenario are designed to transfer force to the metal without deforming the surrounding area, and the success hinges on patient, incremental pulling and careful assessment after each pass.
When the dent is larger or deeper, especially with any paint damage, the assessment often points toward professional repair. A body shop has access to more sophisticated techniques that blend science with artistry: hydraulic pullers, metal shaping, precision measurement systems, and controlled heat and hammer-dolly work to restore the tailgate’s contour. The interior trim might be removed to provide the artisan with space to observe back-side access and to ensure the pull exerts an even, uniform force. After the initial reshape, technicians will often perform a sequence of steps—spot welding or reinforcement where necessary, sanding, filling as needed, priming, and painting—to achieve a color-matched and seamless finish. In these scenarios, the tailgate’s structural resilience is an important consideration; a dent creating a warp or a hinge misalignment may be a signal that the tailgate’s structural integrity is compromised and that a repair might be less durable in the long run than a replacement.
The question of replacement often arises when the dent is not only deep but also located in a region that is difficult to access or critical to structural performance. Very severe damage, dents that have caused metal fatigue, or dent patterns that repeatedly spring back despite corrective attempts can indicate that repair costs are approaching or surpassing the price of a new tailgate. In such cases, replacing the tailgate may be the most cost-efficient and reliable option, particularly if the tailgate’s latch or support mechanisms are compromised or if the dent is accompanied by a misaligned mounting surface that affects safety or weather sealing.
Throughout this assessment, the decision to pursue a DIY approach versus a professional repair rests on the principle of preserving function, safety, and the tailgate’s aesthetic integrity. For many readers, the first instinct will be to attempt a controlled, at-home fix when the dent is small and the paint is intact. The assessment framework supports this instinct by clarifying the exact conditions under which a DIY option remains sensible and by outlining the precautions to avoid making the problem worse. It also serves as a practical reminder that not every dent is a candidate for a simple pull; some require the measured control of a trained professional who can restore the tailgate’s geometry, alignment, and finish in a way that is durable and consistent with the vehicle’s overall build quality.
As you consider your next steps, remember that the tailgate exists as a functional interface of force transfer, seal, and access to the cargo area. A dent’s impact can extend beyond cosmetic concerns if it alters how the tailgate closes, seals, or supports its own weight during operation. A careful assessment thus blends visual inspection with tactile checks, a sense of the tailgate’s movement, and a pragmatic estimate of repair feasibility. If you would like a broader perspective on maintenance pathways that align with this approach—balancing DIY effort and professional input—you can explore the MasterTruckRepairLLC blog for discussions on routine maintenance and repair decision-making.
For readers seeking additional context on dent repair beyond tailgates, an established external guide offers a comprehensive overview of car door dent repair—its principles, potential outcomes, and the sequencing of steps that mirror the logic of tailgate repair. This external resource helps anchor the tailgate-specific assessment within a larger framework of automotive dent repair practices and helps readers compare tailgate repair to other body panel repairs that share similar physical principles. External dent repair guide.
The assessment is not a dawdling process but a disciplined, methodical examination that translates impressions into action. If you’re ready to translate this understanding into repair, the subsequent chapter will guide you through preparing the tailgate and choosing the right repair path with a clear-eyed view of cost, safety, and long-term durability. In the meantime, a practical, at-home check list can help you verify your observations: confirm paint integrity with a close-up, multi-angle visual pass; measure the dent with a simple reference tool or by eye against the tailgate’s flat surfaces; test for rigidity by feeling for any unusual give when applying light pressure toward the dent’s edges; and observe how the tailgate’s movement and latch function are affected as you cycle it open and closed. These checks form a bridge between observation and action, ensuring that your next steps are grounded in a precise understanding of the tailgate’s condition rather than on assumptions born of a quick, surface-level glance.
Tailgate Repair Revealed: A Patient, Proven Path for Minor Dents in a Truck’s Back Door
A dented tailgate can feel like a minor setback or a small battle with your own vehicle. The truth, though, is simpler: most dents that don’t crack the paint or compromise the metal’s integrity are fixable at home, with patient technique and careful observation. The aim is not to chase a showroom finish on a rust-prone surface, but to restore function, maintain the tailgate’s alignment, and keep the exterior looking uniform enough to satisfy daily use. This chapter follows that practical, hands-on approach. It starts with a clear assessment, then guides you through reliable DIY methods for minor dents, and finally explains when it’s wiser to call in a professional or consider replacement. Throughout, the emphasis is on staying safe, protecting the finish, and weighing the cost and effort against the outcome you want. If you’re planning repairs with a long-term view—budgeting time, money, and energy—steady, incremental progress is your ally, not a rushed miracle. And since a well-planned maintenance habit makes future fixes smoother, you’ll find a nod to practical budgeting woven into every step, including a quick pointer to a resource that can help you think through routine truck maintenance in practical terms.
First, a careful assessment is the quiet engine behind any repair. Not every dent is created equal, and the tailgate is a tricky area because it is subject to hinges, latching mechanisms, wiring for backup cameras or sensors, and the possibility of creasing near the edge where residue metal stress can propagate. The simplest category is the superficial dent: a shallow crease with intact paint and no cracks, typically caused by a brush with a hard object, a parking lot nudge, or a loose tailgate when the truck shifts on a slope. If you can run your fingers over the surface and you don’t hear a burr or feel a sharp edge, you’re most likely dealing with a minor metal shift or plastic deformation rather than a structural issue. A closer inspection in good light is worth the effort: look for paint chips, small cracks, or rainbow shimmer that would indicate the finish has been compromised. If the paint is cracked or missing, the risk of rust increases, and DIY fixes must be gentler and more controlled. If the dent sits near a seam or along the edge of the tailgate, or if you notice any misalignment with the body panels, you are flirting with structural considerations. In that circumstance, a professional assessment becomes prudent. The aim here is to preserve the tailgate’s function and appearance without slicing through a paint layer or inviting corrosion, and that means making a conservative call about DIY versus professional treatment.
When you decide to proceed with DIY repair for a minor dent, you’re entering a practical space that balances approach, effort, and outcome. The methods described here share a common thread: they require a clean, dry surface, proper protection for your hands and for the paint, and a methodical pace. The tools you’ll use can be simple or slightly more specialized, but the goal remains the same: coax the metal or plastic tailgate back toward its original contour without creating new damage or compromising the finish. The first technique, often the simplest and most forgiving for small dents, relies on heat and controlled pressure. This approach is particularly suitable for plastic tailgates or very thin metal panels where paint integrity is intact. The concept is straightforward: heat softens the material, making it more pliable. When it cools, it contracts, which can allow the dent to relax outward and flush with the surrounding surface. The process demands patience. Heating too aggressively can weaken the finish or cause scorching, and pressing too hard can stretch the metal or push the dent deeper. Your goal is to coax the material to reset itself gently, not to smash it back into place with brute force. A heat gun or a hair dryer set to a moderate temperature is the preferred heat source. If you’re working on metal that is a bit thicker, the same principle holds, but you may need slightly longer exposure and more patient pressure around the edges.
Begin by cleaning the dented area with soap and water and letting it dry completely. Dirt and grease can hide the true contour of the dent and give you a false sense of progress. With the heat source, apply even heat across the dent for a minute or two, watching the edge of the dent as the surface begins to soften. Then, with a soft rubber mallet or simply your gloved hand, press around the edges of the dent, gradually working toward the center. The idea is to stretch and relax the material just enough to encourage outward flow without creating a new crease. As you work, keep alternating between gentle tapping and slight pushing so you don’t create micro-wrinkles. Allow the metal or plastic to cool naturally. A common outcome is a gradual return to the original plane, with a smooth transition around the periphery. If you see the dent staying stubborn, you might re-warm the area and try again, but never heat beyond mild warmth; an overheated surface can warp or blister the paint.
A second method, the suction or plunger technique, suits small, shallow dents where the paint surface has not been damaged. This approach relies on a firm seal and a quick, decisive pull. Start with a clean surface and a damp rim on the plunger to improve suction. Position the plunger squarely over the dent and press down to create a seal. With a firm, straight pull, lift the plunger away from the tailgate. If the dent is shallow and the paint intact, you may observe a noticeable improvement after a single strong pull, though more attempts can be made in quick succession if needed. It’s essential to avoid jerky movements that could tear through the painting or create new distortions. If the dent persists, you can reapply pressure from the edges while the plunger is off to re-seal and reattempt the suction effect. The key with suction is to manage force, not slam it. The aim is to remove the dent while leaving the surrounding surface unchanged. If the finish shows any cracking, you should halt this approach immediately and consider alternative methods or professional advice, because forced suction can propagate microcracks that ruin the repair’s lifespan.
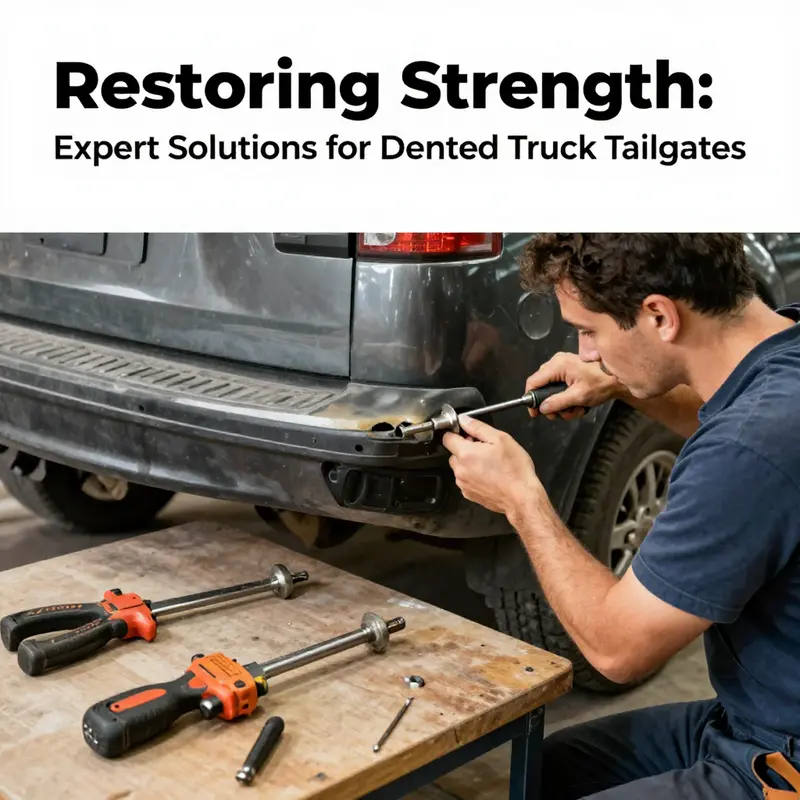
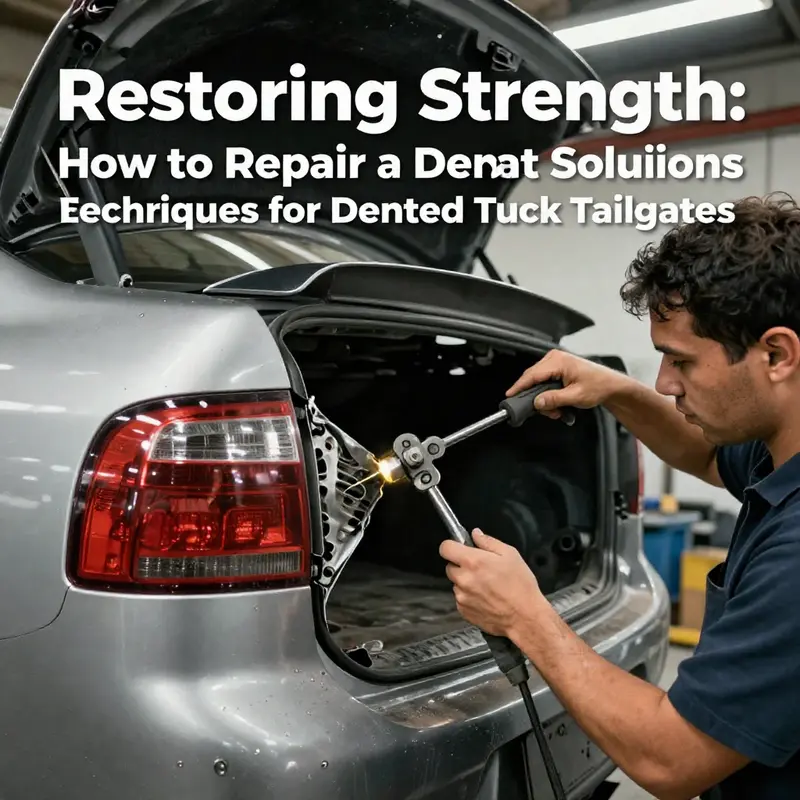
For dents that penetrate a little deeper or for those with a slight ripple under the paint, a more advanced DIY option exists: an adhesive dent puller kit. These kits are designed to apply a controlled pulling force in a way that distributes tension evenly across the dent. They usually include adhesive tabs, a pulling mechanism, and a guide handle, sometimes with a gentle heat element to optimize tab adhesion and pull strength. The procedure is precise and must be approached deliberately. Start with a thorough cleaning, removing any wax or oil that would interfere with adhesion. Apply the adhesive tab to the center of the dent following the kit’s instructions, and allow the adhesive to cure for the recommended time. Attach the puller handle and, using a slow, controlled tightening motion, draw the tab toward the tailgate’s surface. Pause frequently to assess progress and avoid overpulling, which can transform a shallow dent into a stretching or tearing scenario. When the dent has rejoined the surrounding plane as closely as possible, remove the puller and the tab. Clean the adhesive residue with alcohol or a similar solvent, and then rewarm the area if you need to coax any final minor adjustments. A careful touch-up with matching paint may be required if the finish shows small adhesive marks or micro scratches after the removal, and you should plan to seal the repaired zone with a light clear coat to guard against moisture and UV exposure.
Throughout these methods, the condition of the tailgate finish remains a decisive factor. If the paint has cracked, peeled, or appears thin in the affected area, any DIY approach becomes riskier. The urge to flatten a dent can tempt you to push even when the surface is compromised; that is exactly how you create rust channels that begin far sooner than you expect. In such cases, the preferred path often leads away from further manipulation of the paint and toward professional guidance. A body shop has access to tools that can reshape the metal with precision and recoat the surface with an appropriate color match. They can also inspect the tailgate’s internal structure and the hinges for unseen damage that could affect alignment and function. The professional route may involve hydraulic pullers, controlled metal shaping, and reinforcement, as well as a measured sanding and priming sequence before paint, color matching, and a final polish. The results tend to be more uniform and durable, especially when the dent is near critical moving parts or in a location that is difficult to access from the outside.
Even with successful DIY repair, there are practical realities to consider. A dent may appear to vanish at first glance, only to show a slight ripple under light at a certain angle. In that situation, patience pays off; you can revisit the area after a few days of normal use to evaluate whether the fix has settled. If the tailgate still wobbles, closes with an uneven latch, or shows any misalignment with the hatch line, that is a signal that more extensive work may be required. It is normal for a minor dent to require several touch-ups over time, particularly in climates with temperature swings, moisture, or frequent exposure to road salt. Some people find that even after repairing the dent, a light buffing or polishing step helps blend the repaired patch with the surrounding area, reducing the visual transition and helping the finish look more uniform. But you must avoid aggressive polishing that could thin the clear coat and allow moisture to reach the metal underneath. The goal is a smooth, even finish that holds up under routine use and the occasional exposure to rain, sun, and road debris.
As you plan these repairs, a practical consideration emerges: the cost of the repair, including tools, time, and potential reworks, versus the value of the tailgate’s appearance and function. A simple minor dent can often be addressed with a modest investment in a DIY kit or the cost of a few hours of your time, which makes the DIY path attractive for many truck owners. However, it is equally true that repeated attempts or more aggressive approaches with damaged paint can escalate costs without delivering the desired result. In contrast, a professional repair may have a higher upfront price but can provide a more predictable outcome, especially if the dent sits near hinges or along a seam where access is limited. The decision often comes down to the dent’s depth, location, and the condition of the paint. If you’re unsure, you can start with the least invasive DIY option and monitor the result. If at any point the repair compounds the issue, seek professional assessment rather than continuing with a trial-and-error approach.
Finishing touches matter, even when the dent is small. After you are satisfied with the outward appearance, take a careful look at the surrounding panel for any micro scratches or paint transfer from the tools you used. Lightly wipe the area with a soft cloth and a gentle cleaner, then assess the surface under a bright light for any irregularities. If you see a slight mismatch, you may opt for a very light, color-matched touch-up and a clear coat to restore the uniform gloss. Be mindful that color matching on metallic or pearlescent finishes can be nuanced; in some cases, the most reliable result comes from a paint-matching session at a shop or using a professional-grade repair kit designed for that specific paint system. Your aim is to achieve a seamless transition so the tailgate reads as one continuous surface rather than a visible repair patch.
The decision to pursue DIY fixes versus professional service ultimately returns to a core set of questions: How deep is the dent? Is the paint intact? Is the tailgate aligned with the rest of the body? Is there any sign of structural compromise or misalignment in the hinges or latch? If the answers point toward minor surface deformation with intact paint, DIY methods can be effective and satisfying, provided you move carefully and patiently. If the dent is deeper, if the paint is damaged, or if the repair would require disassembly or re-mounting of the tailgate itself, professional service becomes the more sensible option. In any case, a thoughtful plan reduces risk and increases your odds of a durable repair that preserves function, appearance, and the truck’s value over time.
To bring this together with a practical mindset, consider the budgeting and maintenance angle that often governs why we undertake these tasks in the first place. Planning ahead—setting aside a small amount of money for unexpected repairs, or allocating a regular, predictable maintenance budget—can soften the impact when dents occur and you choose between DIY and professional routes. A resource that unfolds this approach in a practical, vehicle-centric way can be found here: Budgeting for Routine Truck Maintenance. This reference helps you frame the repair as part of a broader, ongoing care plan rather than a one-off expense, making it easier to decide when to repair now and when to save for a more complete, professionally finished restoration later. By thinking through the repair in terms of time, cost, and long-term protection, you sustain confidence in your truck’s ongoing reliability and value, no matter how the tailgate looks in a particular moment. In real-world terms, the majority of minor tailgate dents can be handled with care and patience, and a plan. The more you know, the more you can do with a calm, methodical approach, and the tailgate remains a reliable, functional, and aesthetically acceptable component of the vehicle for years to come.
null
null
Final thoughts
The integrity of your truck fleet hinges on the condition of each vehicle component, particularly the tailgate. Whether opting for DIY solutions for minor dents or seeking professional assistance for severe damage, acting promptly ensures that your fleet remains efficient and safe. Understanding when to repair versus replace also saves costs in the long run. Embrace these insights to keep your fleet in optimal condition.

