Heavy trucks are integral to many industries, from logistics to construction, making brake system reliability crucial for safety and operational efficiency. Brake failures can lead to severe accidents and costly downtime, emphasizing the need for understanding how to assess, repair, and maintain these critical systems proficiently. This guide delineates the essential steps in troubleshooting and repairing heavy truck brakes, tailored for fleet managers, trucking company owners, and operators in construction and mining sectors. Each chapter methodically addresses the steps necessary for effective brake repairs—from initial assessment to professional maintenance—ensuring the longevity and performance of the fleet.
Secure the Scene: Safety-First Steps Before Repairing Heavy Truck Brakes
Assess and Secure the Work Area Before Touching Any Brake Component
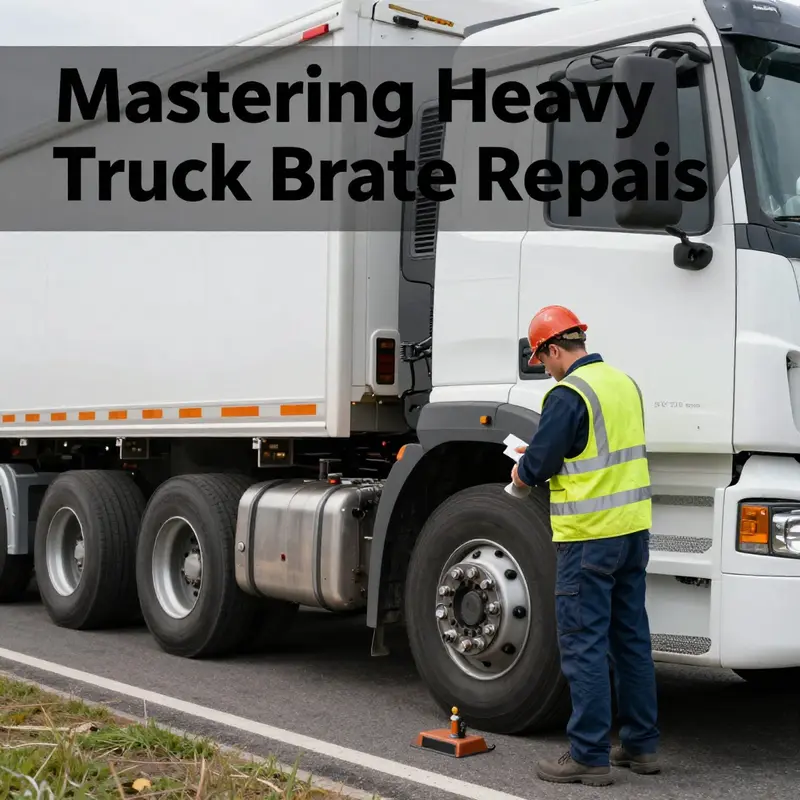
Before any wrench turns or brake line is loosened, the repair begins with safety. Stopping a heavy truck is only the start. You must stabilize the vehicle, remove electrical and pneumatic hazards, protect the work zone, and ensure every person on site is protected. These actions reduce the risk of crushing, sudden movement, or accidental component release. They also set the stage for accurate diagnosis and effective repair.
Begin by moving the truck to a firm, level surface if possible. This reduces the chance of axle loading shifting as you work. If a level area is not available, position the vehicle so its wheels sit perpendicular to a slight slope rather than pointing downhill. Shut off the engine and apply the parking brake. Next, place wheel chocks under both sides of the wheels that will bear the vehicle’s weight while you work. For a heavy truck, use rated chocks designed for large commercial vehicles and place them in a pair—front and back—so the wheel cannot roll in either direction.
Once the truck is immobilized, address energy sources. Heavy truck brake systems usually rely on compressed air and electrical systems. Always disconnect the vehicle battery to prevent accidental starts, short circuits, or sparks that could ignite flammable vapors. After cutting battery power, relieve stored pneumatic pressure. Open the air tank drain valves and allow the system to exhaust fully. Do not attempt to remove or loosen fittings in a pressurized air system. A sudden release can send parts and tools flying, and compressed air can cause severe injury.
While power and pressure are being removed, set up visible warnings. Use reflective cones, flares, or warning triangles at appropriate distances from the vehicle. On a highway, those warnings should be placed at least 50 meters away in both directions. If you are on a two-lane road, place warnings further back on the lane of approaching traffic to give drivers time to react. Good traffic control reduces the chance someone inadvertently strikes the truck or the repair team.
Personal protective equipment is not optional. Wear certified safety boots, impact-rated gloves that resist oils, and safety glasses. A hard hat protects from falling objects when working near raised components. Use hearing protection when operating air tools or when working near running engines. If brake dust is present, a respirator rated for particulate matter is necessary. Many heavy truck brake systems use materials that produce hazardous dust when disturbed. Avoid blowing dust with compressed air; instead, use a HEPA-rated vacuum and wet cleaning methods when possible.
After the scene is secure, carry out a careful visual assessment of the brake system. Look for obvious leaks, broken hoses, or cracked fittings. Check brake line routing for recent damage from road debris or improper repairs. Inspect the wheels and drums or discs for scoring and overheating signs. Note any missing or loose fasteners. This assessment helps you decide whether a roadside temporary fix is safe, or if the truck must be towed to a shop.
If a temporary field repair is feasible, ensure the fix will remain safe for transit. Never improvise a repair that alters the basic braking capability beyond safe limits. For example, sealing a minor hose leak with a rated clamp and sleeve can be acceptable to reach a repair facility. But plugging a line in a way that eliminates braking on an axle is unsafe. Any temporary fix must be followed by a note in the vehicle log and an immediate trip to a professional facility.
When lifting or supporting any part of the truck, follow correct jacking and support procedures. Never rely solely on hydraulic jacks; always use capacity-rated jack stands placed on secure ground. Position stands under manufacturer-recommended support points to avoid deforming chassis members. A collapsed jack stand under a heavy truck can cause catastrophic crushing injuries and further damage.
Document what you find. Take photographs of the area, the faulty components, and any temporary repairs. Record the pressure readings in the air system and note the battery and electrical disconnect steps you took. Clear, concise documentation speeds the handover to the shop and helps the technician understand what they will face. It also supports any compliance or warranty requirements.
Be mindful of hazardous materials. Brake fluid, hydraulic oils, and diesel fuel require containment. Use absorbent pads to catch drip and place used materials in approved containers. Contaminated cleanup materials must be disposed of according to local regulations. A hazardous spill uncontrolled at a roadside can lead to environmental fines and safety risks.
Communicate constantly. If multiple technicians, drivers, or bystanders are present, assign roles. One person should control the traffic warnings, another should handle tools and parts, and a third should document actions. Clear commands prevent misunderstandings and accidental movements of the vehicle.
Finally, treat every on-the-road repair as temporary unless you have the shop resources and parts to complete a full service. Temporary measures can get a truck to a repair facility, but they are not substitutes for a full brake inspection and repair. After returning to a proper facility, ensure the vehicle receives a complete brake system diagnostic and permanent repairs. Budgeting for routine maintenance reduces the chance of roadside repairs; learn more about planning regular service in this guide to budgeting for routine truck maintenance.
Following these safety-first procedures ensures the repair starts on a stable foundation. Stabilize the vehicle, eliminate sources of stored energy, protect the scene, use personal protection, and document everything. Taking these steps prevents secondary accidents, preserves the integrity of the brake system, and protects the people involved. For more detail on the formal safety procedures and the governing standard, see the official heavy truck brake safety operations update (2026): http://standards.gov/heavy-truck-brake-safety-2026
Emergency Brake Repairs: Practical Steps to Regain Stopping Power for Heavy Trucks
Emergency Brake Repairs: Practical Steps to Regain Stopping Power for Heavy Trucks
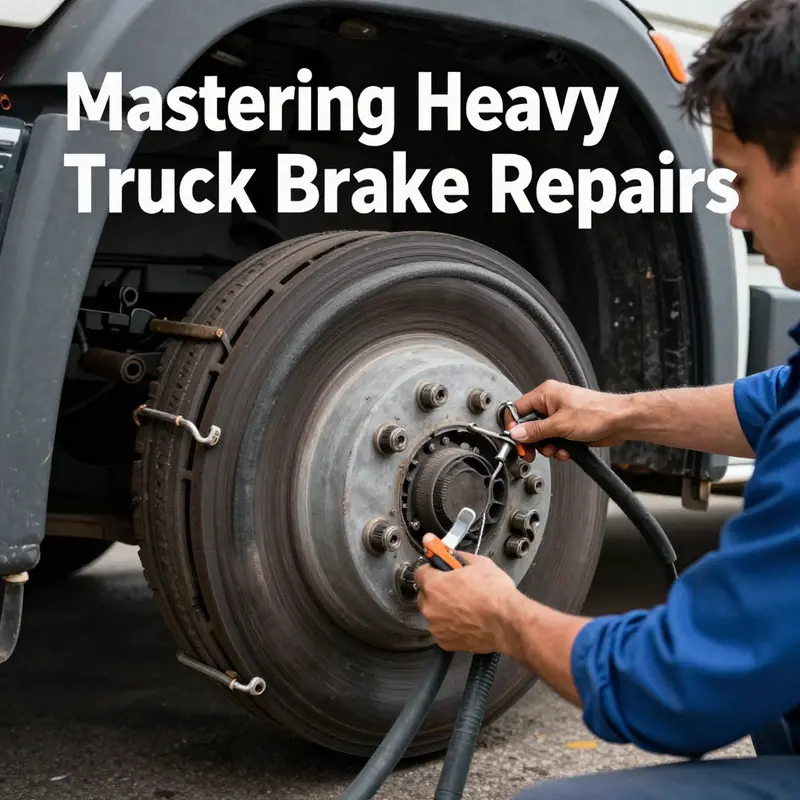
When a heavy truck’s brakes fail, every action matters. Safety is the immediate priority, then diagnosis, then the right temporary repairs to reach a safe repair facility. This chapter guides you through the field procedures that restore braking function quickly and safely. It focuses on the common hydraulic issues—low or contaminated fluid and air in the lines—and on practical, tested emergency techniques you can perform with basic tools.
Stop safely and secure the truck before any work. Pull off the road and set the parking brake. Turn on hazard lights and place reflective triangles if available. If you must work under the vehicle, support it with rated stands or chocks under the wheels. Disconnect the battery when welding or cutting. These steps reduce the chance of secondary accidents while you inspect the brake system.
A quick visual inspection can reveal obvious causes. Look for fluid puddles under the vehicle, wet spots along brake lines, and fluid on wheel hubs or drums. Check the master cylinder reservoir. A low fluid level points to a leak, while discolored fluid suggests contamination. Smell for burned odor near brakes or wheel bearings; excessive heat can ruin fluid and seals. Also test the pedal—if it sinks to the floor or feels spongy, hydraulic pressure is compromised. If the pedal is hard but braking is weak, mechanical issues or air in the system may be present.
When fluid level is low and the leak is minor or not immediately visible, a cautious top-up can restore enough pressure to move the vehicle. Use only the manufacturer-specified brake fluid type. Mixing fluid types can damage seals and reduce performance. Clean the reservoir cap and surrounding area before opening it, to avoid introducing dirt. Add fluid to the recommended level and replace the cap securely. After topping up, test the pedal while the truck is stationary. Pumping the pedal slowly may help restore pressure temporarily, but remember this is not a permanent solution. A leak must be located and repaired as soon as possible.
If fluid appears dark, cloudy, or contains particles, it is contaminated. Contamination lowers boiling point and reduces braking efficiency, especially under heavy loads. Contaminated fluid must be flushed and replaced. Flushing is not a quick roadside fix; it requires proper tools and a clean environment. If contamination is suspected, avoid heavy braking and proceed slowly to the nearest repair facility. Use low speeds and keep a safe following distance to reduce thermal stress on the brakes.
Air in the brake lines produces a soft pedal and delayed braking response. The only effective remedy is bleeding the system to remove trapped air. For a truck, bleeding typically starts at the wheel farthest from the master cylinder and proceeds in a specific sequence. Use a proper bleeder kit if available. The basic process involves opening the bleeder valve, applying pressure to the pedal, and closing the valve while the pedal is depressed. Repeat until a steady stream of fluid, free of bubbles, flows. If you lack a helper, a one-man vacuum or pressure bleeder can be invaluable. Be cautious: do not allow the reservoir to run dry while bleeding. Running dry pulls air back into the system and worsens the condition.
Some emergency fixes can get a truck to a safe shop when a full repair is impossible in the field. For small hose leaks, wrapping the area with a commercial clamp and rubber patch or a section of inner tube can hold pressure long enough to drive at low speed. Secure the patch with heavy hose clamps or wire and test carefully. For a ruptured hard line, a temporary sleeve or coupling clamped over the damaged area can prevent total loss. These fixes should only be used to reach a repair facility, and only after confirming there is enough braking for safe movement.
If the master cylinder is suspected to be the source of failure, topping up the reservoir may temporarily restore function. A failing master cylinder often allows internal leakage past seals and into the brake booster. Symptoms include a pedal that slowly sinks under steady pressure. If a temporary top-up helps, drive immediately at reduced speed to a service center. Never rely on this as a long-term solution.
When a brake line is severed and a stop-gap plug is the only option, understand the trade-offs. Blocking a line removes braking from that wheel or axle. This reduces overall braking capacity and may affect vehicle stability during stops. If you must isolate a line, do so on the side with the least impact on steering and stability. After such a plug is applied, drive slowly and avoid sudden stops. Use engine braking when possible and plan routes to minimize traffic exposure.
Electrical issues that impact air systems or ABS controls require different handling but are often related to power loss and sensor faults. If ABS malfunctions but basic hydraulic braking remains, you can usually continue driving with caution. If electrical faults disable power-assisted systems, expect a much firmer pedal and altered stopping behavior. In that case, reduce speed and head directly to a repair facility.
After any emergency repair, perform controlled braking tests in a safe, open area. Start at low speed and apply progressive braking, checking for pedal firmness, pulling, or odd noises. Test on a gentle grade if possible. Monitor brake temperature during these tests; overheated brakes can fail again. If anything feels off, stop and reassess. It is better to call for a tow than to risk further travel with uncertain brakes.
Documentation matters. Record what you found, what you did, and the fluids or parts used. Note the vehicle’s load and the distance you plan to cover. This information helps the shop diagnose secondary issues and plan permanent repairs. It also assists with insurance or fleet records, and helps you decide when to invest in portable bleeding equipment or better roadside spares.
Emergency repairs carry risks. Temporary patches, plugs, and improvised splices reduce stopping power and may alter handling. Use them only to reach a qualified repair shop. For operators who prefer preparedness over improvisation, building a small emergency fund and a kit of spares will pay off. Consider reading resources on building an emergency repair fund for truck owners to plan for roadside contingencies.
Finally, know when to stop attempting field fixes. If a repair requires cutting, welding, or if the truck is heavily loaded and in traffic, call professional roadside assistance or a tow. Heavy trucks demand professional service for permanent safety. Once stabilized, the vehicle should be fully inspected, flushed, and repaired by technicians who can restore original braking performance. Temporary measures are just that—temporary—and the next chapter covers the professional follow-up and permanent repair steps you will need to complete.
Repairing Brake Components: Practical Steps for Heavy Truck Brake Shoe and Hardware Replacement
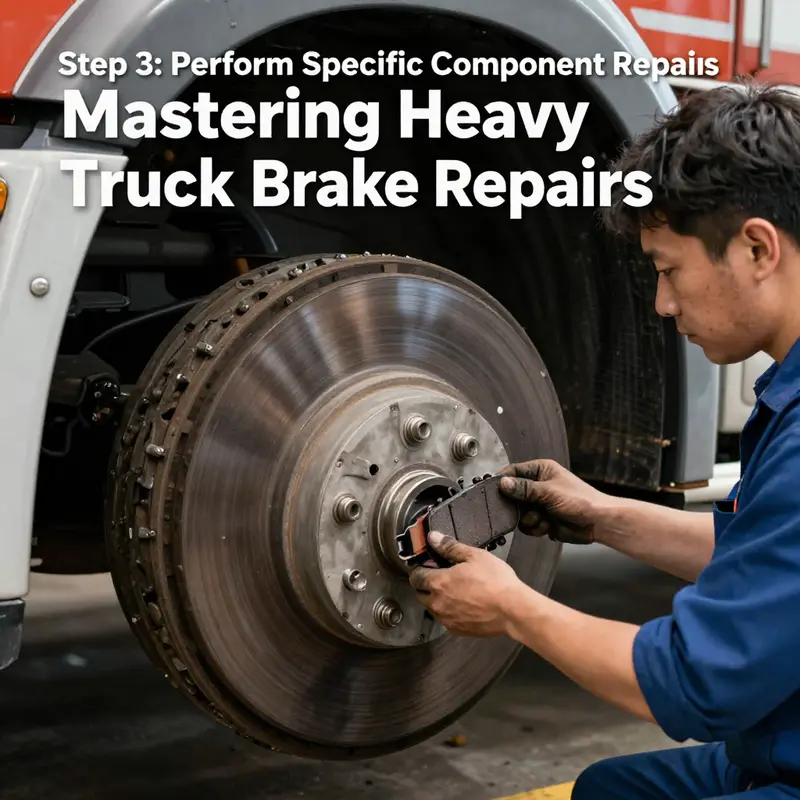
Performing targeted repairs on a heavy truck brake assembly demands precision, the right parts, and a disciplined process. When your inspection points to worn brake shoes or failing return springs, the repair is not simply a parts swap. It is a sequence of checks and actions that restore safe stopping power and preserve other components. This chapter walks through the practical steps for replacing brake shoes and associated hardware on drum systems, explains how disc systems differ, and highlights the tools and measurements that make a repair last.
Begin every repair with the expected controls in place. Block the wheels and set the parking brake. Lower the vehicle onto solid jack stands before working under or near the wheel assembly. Disconnect the battery when working around electrical or air-valve circuits. These steps reduce the chance of sudden movement and accidental system engagement.
Once the assembly is accessible, inspect the drum or rotor, bearings, seals, and wheel cylinders. Brake shoes rarely fail in isolation. Look for scoring or heat cracks on the drum, grease contamination from a leaky seal, and dried or collapsed return springs. If a wheel cylinder is weeping or a drum shows deep scoring, plan to replace or service those items during the same visit. Replacing only the shoes and leaving a bad cylinder or a contaminated drum will shorten the life of the new parts and risk brake performance.
Selecting the correct replacements is critical. Match shoe dimensions and curvature to the original specification. A proper brake hardware kit should include rivets or retaining pins, return springs, and adjuster components. These small parts maintain shoe position and retraction; they also influence pedal feel and wear patterns. Never substitute an incorrectly sized shoe or omit hardware. Using the wrong shoe compromises contact area and can introduce noise, uneven wear, and loss of braking efficiency.
Preparation pays dividends. Clean the backing plate and anchor points with a wire brush. Remove accumulated debris and rust that can impede spring seating or cause binding. Inspect the anchor pins and replace them if they show heavy wear. Lubricate pivot points sparingly with a high-temperature brake grease at the manufacturer-specified locations only. Excess grease on shoe friction surfaces or inside the drum will contaminate the lining and must be avoided.
Reassembly is a methodical exercise. Start by positioning the primary (front) and secondary (rear) shoes correctly relative to the wheel cylinder and anchor. Fit the adjuster assembly between the shoes and ensure its threads move freely. Install the return springs using proper spring pliers or specialty spring tools. These tools reduce the risk of spring breakage or personal injury. Secure the shoes to the backing plate with the correct retaining pins or rivets. If the retainers use rivets, follow rivet specifications and torque requirements for secure installation.
When the drums or rotors are serviceable, measure internal drum diameter and compare it to the allowable maximum. Replace drums that have exceeded service limits. If machining a drum is chosen, ensure the concentricity and heat-treatment limits are maintained. For disc systems, inspect rotor thickness, runout, and pad backing plate condition. Replace pads when the friction material falls below recommended thickness and always install pad hardware to prevent uneven pad wear.
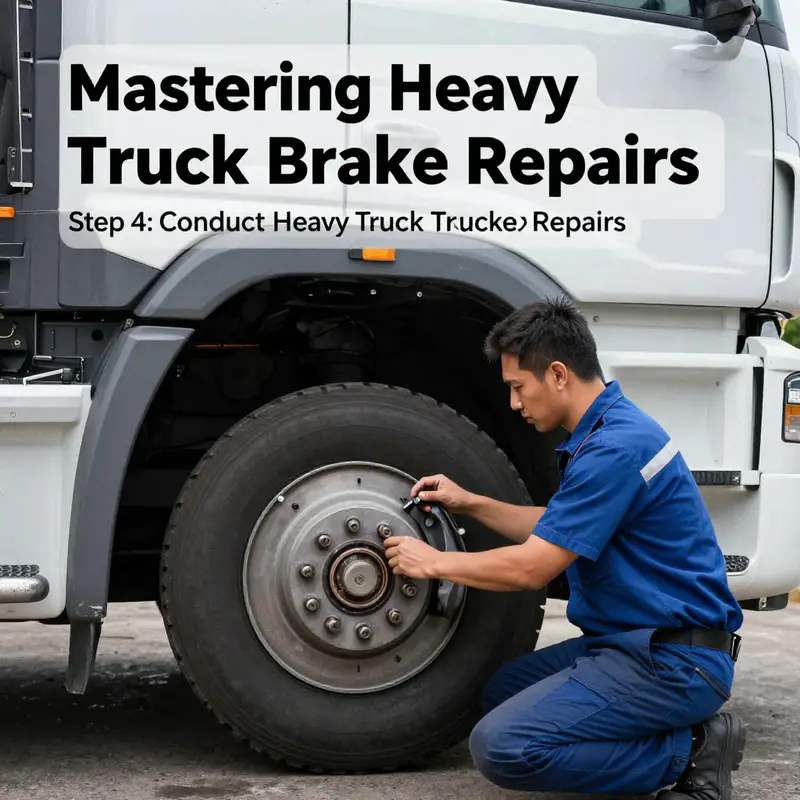
Adjustment and bleeding are the final mechanical steps. For drum brakes, set the adjuster so the shoes sit close to the drum without dragging. Many systems include a manual adjuster accessible through an access slot; others use automatic adjusters that require a manual reset. If the service involved opening the hydraulic circuit or replacing wheel cylinders, bleed the brakes using the proper sequence to clear air and restore firm pedal feel. For air-braked trucks, ensure the entire air system is at proper pressure and that slack adjusters are free and functional. Adjust camshafts and slack adjusters per specification to achieve correct pushrod travel and drum clearance.
Torque values are not optional. Follow the manufacturer’s service manual for torque on anchor bolts, hub nuts, and fasteners. Proper torque prevents loosening under vibration and ensures even load distribution. Use a calibrated torque wrench and adhere to the specified sequence when tightening wheel studs and hub components.
Testing after repair must be deliberate and staged. Begin with a static test: rotate the wheel by hand to ensure smooth contact and no binding. Apply and release the brake several times to confirm return springs retract the shoes fully. Gradually test the vehicle at low speed in a controlled environment, checking for pull, noise, vibration, or abnormal pedal travel. Increase braking force and speed incrementally until the system demonstrates consistent, fade-free performance.
Disc systems require different emphasis. Caliper slides or pins must move freely. Replace worn seals and pistons that show corrosion or pitting. Use the correct pad orientation and anti-rattle hardware. Ensure rotor runout is within limits; excessive runout creates pulsation under braking. When resurfacing rotors, maintain thickness above the minimum and ensure a clean, flat surface. A proper break-in or bedding procedure for new pads and rotors improves friction stability and reduces glazing.
Record-keeping is a simple habit with long-term benefits. Document the parts installed, measurements taken, torque values used, and the dates and mileage. This information helps predict future wear and assists in diagnosing recurring issues. If an unusual wear pattern appears, those notes will speed troubleshooting and reduce repeat labor.
Specialized measurement tools matter. Dial indicators help measure drum and rotor runout and gear backlash when driveline components influence brake behavior. Micrometers and calipers confirm lining and rotor thickness. Where axial or rotational alignment is critical, use the recommended depth and bearing setting tools. These precision checks prevent misalignment that degrades brake life and vehicle handling.
When field repairs substitute temporary fixes, prioritize a permanent return to workshop standards. Emergency patches can get a truck to a service facility, but they are not reliable long-term. A complete hardware kit replacement, proper wheel bearings servicing, and a verified hydraulic or air system bleed restore full safety margins.
If you manage a fleet or perform in-house maintenance, adopt consistent practices and training. Formalize inspection checklists, parts sourcing standards, and torque tables. For teams maintaining trucks internally, documented procedures reduce variability and improve uptime. More on developing effective in-house maintenance practices can be found in a practical guide to in-house truck maintenance.
Finally, always consult the vehicle maker’s service manuals. They provide torque specs, clearances, and component-specific procedures that apply to your truck’s model and axle configuration. Using manufacturer guidance ensures the repair meets safety and regulatory expectations, and reduces the chance of warranty or compliance issues.
For deeper technical background on brake design and engineering considerations, refer to authoritative industry literature: https://www.sae.org/publications/technical-papers/content/2023-01-1234
Last-Mile Safety: Final Performance and Compliance Checks After Heavy Truck Brake Repairs
Final checks after heavy truck brake repairs are the bridge between fixing a problem and returning the vehicle to safe service. Completing the mechanical work is only half the job; validating the repair under real-world conditions closes the loop. These checks confirm the hydraulic integrity, mechanical adjustments, and functional behavior of the system. They also protect drivers, fleets, and cargo from a preventable failure. Approach this stage methodically, treating each check as an inspection gate that the vehicle must pass before it resumes normal operation.
Start with the brake fluid reservoir. Verify fluid level relative to the MIN and MAX marks. Use only the manufacturer-recommended fluid type. Fluid that looks dark or cloudy is contaminated and must be flushed. Contaminated fluid lowers boiling point and invites brake fade. If the system had open lines, replace the fluid entirely. Topping off alone is not enough when contamination exists. When you refill, follow the correct sequence to avoid introducing air.
Bleeding the brake system is essential after any hydraulic work. Air in the lines creates a spongy pedal and reduces stopping power. Use the manufacturer’s specified bleeding order, typically beginning with the wheel farthest from the master cylinder. A pressure bleeder speeds the job and reduces the chance of air re-entering the system. When using the traditional two-person method, have one operator pump and hold the pedal while the other opens and closes the bleed valves. Continue until clear, bubble-free fluid flows from each nipple. Check the reservoir periodically to prevent it from running dry.
Inspect every component for leaks. Examine the master cylinder, booster junctions, hard lines, flexible hoses, calipers, wheel cylinders, and fittings. Look for fresh wetness, stains, or drips. Even a tiny seep demands attention. Leaks often begin near fittings and seals. Torque fittings to spec when needed. Rubber hoses can swell under pressure and may reveal damage only during testing. If you find a leak, repair or replace the affected component and re-bleed the system.
Next, evaluate brake pedal free play and travel. Most service manuals specify a small free play range, often around 10–20 mm. Adjust the pushrod if the play is excessive. When you press and hold the pedal, it should remain steady. If the pedal slowly sinks, the master cylinder or booster may be leaking internally. A firm, non-sinking pedal indicates the hydraulic system holds pressure. Record the pedal position and resistance so you can compare it during future inspections.
Test the parking brake thoroughly. Engage it and verify the truck holds on an incline. Release it and confirm the brake disengages fully. A parking brake that drags will cause heat buildup and premature wear. Adjust cable tensions if the brake does not hold securely. Remember, the parking brake is a legal and safety device; it must perform reliably when the primary system is compromised.
Conduct a controlled road test in a safe area with low traffic. Drive at a moderate speed and apply the brakes with increasing force. Observe vehicle behavior closely. The truck should stop straight without pulling to either side. The pedal should feel firm and immediate. Listen for unusual noises like grinding or metal-on-metal sounds. Watch for vibration in the steering wheel or brake pedal, which suggests rotor or drum issues. After several stops, check for any signs of brake overheating or unusual smells.
During and after the road test, check wheel bearing and hub temperatures by touch again. Hot hubs can indicate dragging brakes or bearing failure. If a wheel is hotter than the others, inspect that station for sticking calipers, collapsed hoses, or misadjusted shoes. Verify wheel lug torque as part of station checks. Loose lugs create a safety hazard and can affect the brake components through unequal loading.
Document every step and result. Record fluid types and volumes, bleed sequence and duration, parts replaced, torque values, and pedal measurements. Good documentation supports warranty claims and fleet compliance. It also creates a maintenance history that helps detect recurring issues. If the repair was temporary, clearly note the temporary nature and the recommended timeline for permanent repair. Accurate records reduce liability and save time during follow-up inspections.
If any abnormal behavior persists, stop driving and escalate the repair. Symptoms like persistent pedal travel, dragging brakes, or uneven stopping demand immediate attention. Temporary roadside fixes can get a truck to a repair facility, but they are not long-term solutions. Schedule permanent repairs promptly to avoid cascading damage or a catastrophic failure.
Safety checks should also include a quick review of related systems. Confirm that the ABS lamp operates normally during the start-up self-test. Inspect electrical connectors that serve the brake control systems. Ensure the air system drainage and governor settings are correct on air-braked trucks. A thorough final check looks beyond the immediate repair area to systems that interact with braking performance.
Training and procedural discipline matter. Ensure technicians follow a checklist and that at least one trained person signs off on the completed checks. A formal sign-off verifies that the vehicle passed each gate and is safe for service. Fleets that enforce this discipline see fewer repeat failures and lower risk exposure.
Budgeting for ongoing maintenance is an important companion to sound repair practice. Planned spending on routine inspections and parts replacement reduces emergency repairs and downtime. For guidance on planning and funding recurring maintenance, consult this fleet budgeting resource: budgeting for routine truck maintenance.
Finally, keep manufacturer guidance close at hand. Service manuals and official maintenance guides provide torque settings, bleed sequences, and component-specific tolerances. For more detailed technical procedures, refer to the official support materials: https://www.sinotruk.com/support/technical-manuals
These final checks are not optional. They complete the repair process and verify that the truck meets safety and performance expectations. A careful, documented final inspection minimizes the chance of repeat calls and increases confidence that the vehicle will operate safely under load and during emergency stops.
Professional Brake Maintenance: The Crucial Step in Repairing and Preventing Heavy Truck Brake Failures
Professional maintenance is the single most important step after any emergency brake repair on a heavy truck. Temporary field fixes can be lifesaving in the short term. They are not a replacement for a full professional inspection. Brake systems on heavy trucks are complex assemblies of air systems, mechanical linkages, friction materials, and electronic controls. Each part affects stopping power, response time, and fail-safe behavior. Skilled technicians see patterns that a quick roadside fix can never reveal. Regular professional service reduces risk, prevents repeat failures, and restores systems to regulated standards.
A properly maintained brake chamber is a key example. The chamber houses the service diaphragm and the spring for parking and emergency braking. Spring force weakens with fatigue and corrosion. Diaphragms age and crack. Pushrods and clevises wear and can misalign. A mechanic examines chamber operation and spring integrity. They measure pushrod travel and check diaphragm condition. They verify proper clevis pin fit and torque. Replacing a degraded chamber or adjusting linkages prevents delayed brake response and partial application under load.
Air system health is another reason to choose a professional shop. The compressor, air dryer, tanks, valves, and lines must maintain proper pressure and flow. Technicians perform controlled leakage tests and governor function checks. They inspect air dryers and desiccant cartridges. Water or oil in the system degrades valves and accelerates diaphragm failure. Professionals know the right purge intervals and replacement schedules. They also identify intermittent leaks that a roadside patch can miss. Those leaks can allow a slow pressure loss, which eventually disables service brakes or triggers emergency spring brakes unexpectedly.
ABS and electronic components add further layers of complexity. Electronic sensors and modulator valves must communicate reliably with the brake chambers and foundation brakes. Technicians use diagnostic tools to read fault codes and live sensor data. They check wheel speed sensors, tone rings, and wiring integrity. A misdiagnosed ABS fault can mask reduced braking efficiency or allow wheel lock during a hard stop. Professional shops combine mechanical inspection with electronic diagnostics. That combination produces safe, verifiable repairs that restore both stopping power and control.
Foundation brake inspection and rebuild are routine tasks for a qualified shop. Whether drum or disc, the foundation hardware must meet wear limits. Brake linings, pads, drums, and rotors are measured and compared to specifications. Slack adjusters and automatic adjuster systems are tested for full range and proper compensation. Bearings, seals, and hub components are checked for heat damage and play. Technicians identify uneven wear patterns that indicate alignment or load distribution issues. Addressing the root cause avoids repetitive part replacements and improves tire and suspension life.
Professional maintenance also enforces correct adjustment and measurement. Simple measurements tell an experienced technician whether a system is marginal. Pushrod travel, stroke length, and clearance at the shoes or pads deliver objective data. Shops use calibrated gauges and follow manufacturer or regulatory limits. This prevents over-adjusting or leaving a system dangerously loose. Proper torque values are applied to mounting hardware. The result is predictable, repeatable braking performance across a range of operating conditions.
Regulatory compliance cannot be overstated. Commercial heavy trucks are subject to inspection and maintenance rules. Routine professional servicing maintains required records. Technicians log repairs, parts, and test results. These documents protect operators during roadside inspections and audits. They also establish a maintenance history that improves resale value and liability protection. A documented maintenance program is often a condition of insurance coverage and fleet contracts.
Technician training and specialty tools matter. Brake system work requires knowledge of air systems, hydraulics, and electronics. Technicians train to replace diaphragms safely, to handle high-tension spring brakes, and to service pressurized air components without causing injury. Shops use spring-brake tools, stroke gauges, pressure gauges, and leak detection equipment. They keep calibration records for tools. Professional practice reduces the risk of incorrect repairs and ensures safe reassembly under load.
Service intervals are part of a preventive strategy. Daily pre-trip and post-trip inspections catch visible problems. Scheduled shop maintenance catches hidden wear. A professional schedule balances mileage, hours, and operating conditions. High-mileage or heavy-load units require more frequent attention. Professional shops tailor intervals for climate and duty cycle. They also recommend component replacement based on measured wear, not guesswork. That conserves budget and maximizes safety.
Recordkeeping and parts traceability are practical benefits. Quality shops use OEM or approved components. They track part numbers, serials, and supplier information. This matters for recalls and warranty claims. Technicians note torque values, adjustment settings, and test outcomes. Operators receive a clear history of the repair. Good records help diagnose recurring issues. They also make it easier to calculate life-cycle costs for fleet budgeting.
A culture of preventive maintenance reduces downtime. Repaired brakes that have been professionally inspected return to service with confidence. Shops perform road tests to validate repairs under real conditions. They recreate common operational loads and verify braking distances and ABS behavior. That hands-on verification is missing in most roadside repairs. A properly serviced truck spends less time in the shop overall and less time stuck on the roadside with emergency fixes.
Finally, professional maintenance helps integrate brake care into broader fleet strategies. Shops advise on training, parts stocking, and budgeting for scheduled overhauls. For operators running maintenance in-house, sharing best practices is valuable. For example, reading on dedicated in-shop maintenance routines can guide decision-making and setup. See this resource on in-house truck maintenance practices for practical insights: in-house truck maintenance practices.
Professional maintenance is not optional after an emergency repair. It restores systems to specification. It confirms air integrity and spring function. It aligns mechanical components and reconciles electronic systems. It produces documentation that protects operators and fleets. For authoritative guidance and regulatory standards on heavy vehicle inspection and brake maintenance, consult the Federal Motor Carrier Safety Administration: https://www.fmcsa.dot.gov/
Final thoughts
In conclusion, ensuring the reliability and safety of heavy truck brakes involves a structured approach that prioritizes immediate assessment, prompt emergency repairs, and detailed component fixes. Fleet managers and operators must comprehend the nuances of these processes to mitigate risks and enhance operational efficiency. Regular preventive maintenance and professional inspections cannot be overstated; they are vital components in maintaining a fleet that operates not only smoothly but safely. By adhering to the outlined steps and integrating systematic maintenance routines, companies can safeguard their vehicles, employees, and overall productivity.

