For fleet managers, trucking company owners, and operators in construction, mining, logistics, and freight services, maintaining the integrity of truck beds is imperative for operational efficiency. Truck beds often face abrasive environmental conditions, accumulating damage that if left untreated, can escalate into costly repairs and safety hazards. This comprehensive guide offers a structured approach starting with damage assessment, followed by effective rust removal techniques, methods for patching and replacing panels, and concludes with the importance of applying protective coatings. Each chapter is designed to equip you with actionable insights to ensure your truck beds remain reliable assets in your operations.
Seeing the Bed Clearly: A Thorough Assessment that Guides Truck Bed Repair
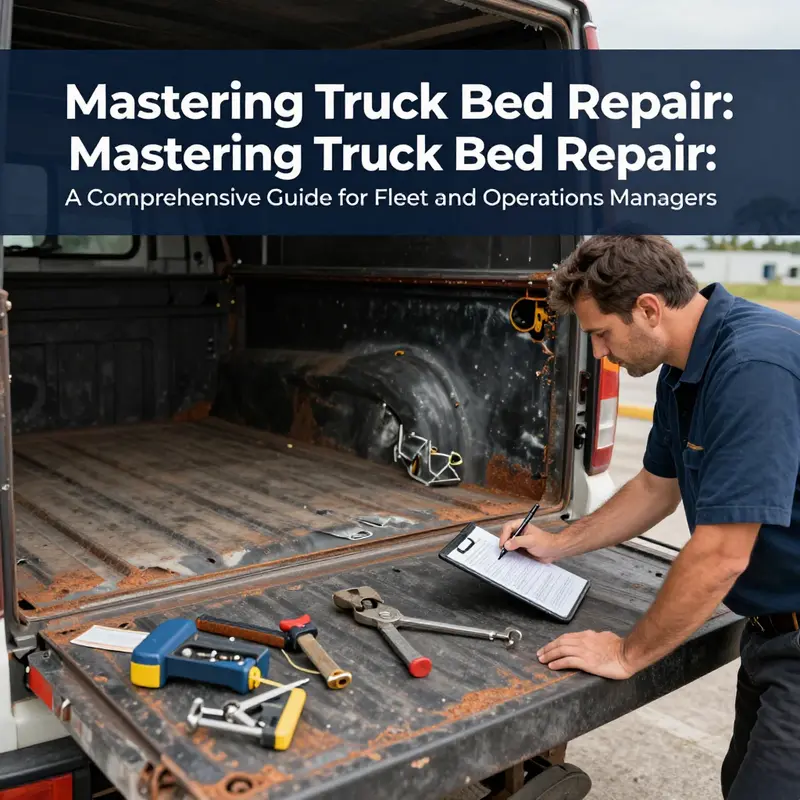
Assessing damage for a truck bed is not an afterthought. It is the compass that points every hammer, weld, and coat of primer toward a repair that lasts. A bed carries weight, exposure, and the daily grind of hauling doors, equipment, and payloads that test metal and mounting points. A careful, methodical evaluation lays the groundwork for decisions that affect safety, load distribution, and the vehicle’s resale value. This chapter follows a practical, grown-up approach: look deeply, measure honestly, and plan repairs with the same care you would give a missing bolt on the suspension. The aim is not to chase cosmetic fixes alone but to understand the bed as a system—how the surface, the frame, the fasteners, and the coatings interact under load and through time. In doing so, you also gain a clearer sense of when a patch will suffice and when a panel or a whole section should be replaced. To the untrained eye, rust spots and dents can look like isolated nuisances. A trained eye recognizes how those signs point to underlying fatigue or misalignment that can compromise safety if ignored. As you begin, keep the both the practical and the long view in balance: what you fix now influences what you can safely carry tomorrow, and how long the repair will last depends on how you approach the assessment itself.
Start with a thorough exterior inspection. A truck bed’s outer skin tells a narrative if you know how to read it. Scan the entire surface for rust, holes, cracks, or warping. Pay special attention to edges, corners, and mounting points where stress concentrates and where seals and coatings are most likely to fail. A dent in the middle of a long panel might feel cosmetic, but if the metal around it has stretched or fatigued, that dent can propagate cracks or distort the flat load surface. Look for any paint repairs or touch-ups, too. Irregular color patches can be a clue that someone attempted a fix before you, sometimes to mask a deeper issue. When you inspect, do not rush. Move slowly across the bed, letting your hand and eye detect subtle irregularities in texture, line, and sheen. A smooth, even plane across the bed floor is essential for proper load distribution. If the bed floor shows obvious waviness or has lifted edges, it is a sign that the underlying structure may have bent or flexed, and those symptoms matter even if the surface seems superficially clean.
Next, study the internal structure with the same care you give the exterior. If the bed is steel, feel for metal fatigue along frame rails and floor panels. Run your hands along the rails to detect any irregularities—tiny sags, unexpected stiffness, or a finish that flakes where the metal has weakened. Rust is a symptom, not the diagnosis; the disease lives in the metal beneath the rust. For aluminum beds, the signs differ. Look for discoloration, soft spots, or a chalky roughness that could indicate corrosion beneath a seemingly sound surface. Aluminum behaves differently than steel under stress, and its problem areas can hide in plain sight. Use a straight edge or a level to check flatness across the bed floor. Even minor deviations can alter load distribution and cause uneven wear on mounting points or mounted accessories. If you find high or low spots, you are not just noting appearance; you are measuring a potential misalignment that could worsen under heavy use.
A critical, often overlooked part of the assessment is the bed’s fasteners and attachment points. Inspect every bolt, nut, and weld securing the bed to the chassis. Loose, missing, or corroded fasteners are red flags indicating potential structural instability. Examine welds for hairline cracks or signs of heat distortion—these are serious indicators that professional repair may be required. If you notice clusters of rust around mounting holes or along weld lines, treat them as urgent warnings rather than cosmetic inconveniences. A bed that seems solid at rest but shows looseness or cracking when loaded is a bed that must be addressed before any new coating or patchwork is attempted.
Testing the bed under load is where intention becomes tangible. A bed that passes inspection visually but fails when loaded reveals the difference between an aesthetically acceptable surface and a structure that can carry safe, heavy payloads. If the bed flexes excessively, or if you hear creaks and pops while driving over uneven pavement, the problem is likely more than paint damage. Those noises and movements can signal distortion in the frame or misalignment of mounting points. The best way to understand the functional impact is to simulate real use: load a representative weight in a safe, controlled manner and observe how the bed and its supports respond. If the bed moves or shifts more than expected, or if you notice accompanying vibrations in the chassis or cab area, the damage likely extends beyond visible rust or a few dents.
In the realm of structural assessment, professional tools offer decisive clarity. Laser alignment systems and ultrasonic testing can reveal hidden deformations and internal fatigue that surface inspections miss. While this may sound heavy, the purpose is simple: you want to know what a patch can handle and where to draw the line between repair and replacement. If any sign of deformation remains after basic fixes, a trained technician can determine whether a repair is within the realm of a solid fix or if a more comprehensive approach is necessary. The scale of a repair must match the gravity of the damage; mismatches here create weak points that will bite back later under load and weather exposure.
Throughout this process, keep the functional use of the truck in mind. A repair that preserves the bed’s appearance but undermines its ability to secure and distribute loads is not a win. If the bed’s integrity affects the safety of the vehicle or the effectiveness of cargo management systems, then the assessment has done its job by guarding against a premature or inappropriate repair. This is not a vanity project; it is a structural evaluation with real consequences for safety and performance. A well-conducted assessment reduces guesswork, guides the repair strategy, and helps you allocate time and resources where they are most needed.
As you review the findings, organize them into a clear picture of risk and opportunity. Note where corrosion has penetrated the surface and where metal fatigue appears likely in the rails or mounting areas. Document any deviations in flatness or alignment and mark the fasteners that show signs of loosening or corrosion. It is helpful to photograph critical areas, align notes with a rough sketch of the bed’s layout, and track aging indicators such as repeated repainting or evidence of patchwork at the edges. Although the path from assessment to action will vary with each truck and each bed design, the core logic remains constant: identify, measure, and judge. Your judgment should weigh safety, functionality, and durability as equally as the bed’s cosmetic condition.
Once your assessment is complete, you will have a clearer sense of whether you should pursue targeted repairs, panel replacement, or perhaps a more extensive restoration. The decision hinges on how the damage affects the bed’s load-bearing capability, how much material can be saved through patching, and whether the repair will endure under normal use and environmental exposure. If the damage is mostly superficial—scratch patterns, small rust spots, minor dents—mindful repair and coating may restore function and appearance with a reasonable lifespan. If the damage runs deeper—significant rust through the floor, clear metal fatigue, a warped or cracked frame rail—then patchwork may be impractical, and replacement becomes the prudent path. It is precisely during this decision that the value of a careful assessment becomes evident. It prevents wasted effort, reduces risk, and frames the subsequent steps with a clear understanding of what will deliver lasting performance.
The journey from assessment to repair is not a rigid sequence but a logical continuation. With a precise map of what exists and what must be done, you can choose the proper repair technique with confidence. For small, isolated issues, you might patch and reinforce with new steel patches, ensuring both surfaces are clean and weld-ready. For larger sections, you may replace entire panels, aligning them meticulously with the frame and ensuring a secure, durable connection through welding or sturdy bolts. In any path you choose, you will need to protect the repaired area from future corrosion and wear. That protection usually begins with a rust-inhibiting primer, followed by a tough bed liner or protective coating. The goal is to create a benign, robust surface that resists moisture, abrasion, and impact, while preserving the bed’s structural integrity.
A crucial piece of the puzzle is the reassembly phase. After the structural work, you must inspect and reinstall bed accessories—the rails, tie-downs, or cargo management systems—carefully. Reinstalling is not a cosmetic step either. Improperly tightened hardware can undo months of careful repair work in minutes. Check each fastener torque against the manufacturer’s guidelines and recheck the alignment after the bed is reattached to the frame. The reassembly phase closes the loop between assessment and endurance, turning a plan into a durable, functional system. If this is your first time approaching a repair of this scale, allow room for professional input. A qualified technician can verify that the bed aligns with the chassis and that there are no hidden issues that could compromise safety on the road.
Throughout the process, you can borrow lessons from established guides that bridge practical technique with professional standards. For readers who want to see more detailed steps, a trusted repair resource offers broader, step-by-step recommendations on rust removal, patching, and coating techniques. To expand your perspective while staying anchored in solid fundamentals, you might explore the Master Truck Repair blog, which provides a broad array of practical insights into vehicle maintenance and restoration. The value of such a resource lies in its real-world application, bridging the gap between a theory-laden manual and the hands-on decisions you face on a workday. And as you consider the path forward, remember that the bed’s repair is not a single act but a sequence of careful moves that protect the truck’s payload and ensure reliable performance over time. A well-executed assessment is the hinge on which everything else turns, guiding you toward a repair that is not merely patchwork but a durable restoration of function and safety.
For broader context and step-by-step guidance from a trusted resource, see the Master Truck Repair blog. Master Truck Repair Blog
As you move beyond assessment toward actual repair, you will carry forward the same mindset: measure twice, cut once, and coat to endure. The next chapters will explore rust removal strategies, patching and panel replacement options, dent repair techniques, and protective coatings in a structured, safety-conscious sequence. The goal remains constant—restore the bed to a state where it can perform its primary role with confidence, while preserving the vehicle’s integrity and value for years to come. By combining careful diagnosis with disciplined execution, you can achieve results that feel professional without losing the sense of ownership that comes from doing the work yourself. The bed is not simply a place to haul gear; it is a critical component of the truck’s structural and functional identity. Treat it with the care it deserves, and the rewards are practical and tangible: safer loads, longer service life, and the satisfaction of a repair that was earned through thoughtful assessment and precise execution.
External reference: Truck Bed Repair Tips.
Rusted to Ready: Precision Rust Removal for Truck Beds with Abrasive Water Jet Technology
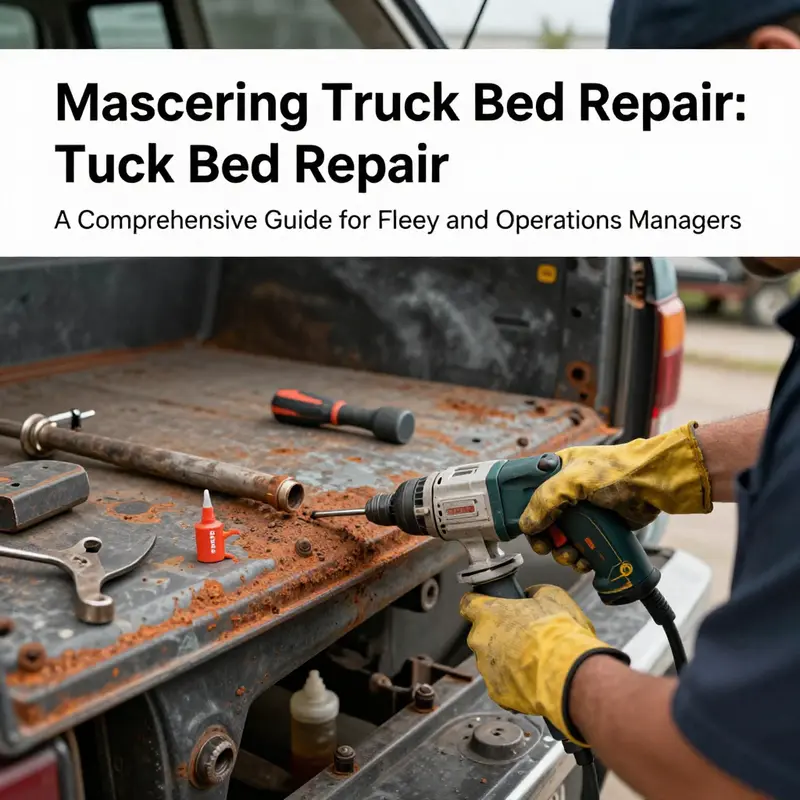
Rust is a relentless adversary when a truck bed spends its life hauling scrap, gravel, or salt-coated cargo. It starts as tiny, almost invisible specks and, if left unchecked, grows into pits that eat through metal and threaten the bed’s structural integrity. The chapter you’re about to read flows from the practical need to restore a bed from inside and out, not merely to mask the symptoms. A bed that looks good on the surface but hides deep rust is a bed that will fail when it’s loaded with gear, rain, or road debris. The path from recognition to restoration is a careful sequence of assessment, removal, patching, and protection, and rust removal sits at the heart of this sequence. Historically, many builders and DIY enthusiasts relied on brute force—wire brushes, grinding wheels, abrasive discs, or sandblasting—followed by a coat of primer and paint. Those methods, while familiar, often create more dust, more heat, and more irregularities than the job warrants, especially on curved or contoured bed panels. The newer approach, though, invites a different way of thinking about rust: a method that respects the metal, minimizes waste, and speeds progress without sacrificing quality. That method is abrasive water jet technology, a process that blends high-pressure water with an abrasive medium to remove rust and old coatings with precision and control. In the context of truck bed repair, this technique represents a meaningful shift from the rough-and-tumble of manual scraping to a measured, repeatable, and environmentally mindful approach that keeps the steel’s integrity intact while preparing a flawless canvas for the next steps of patching and finishing.
Abrasive water jetting operates on a simple yet powerful principle. A concentrated stream of water travels through a nozzle at extremely high velocity, and when abrasive particles—commonly garnet or similar media—are added, the mix becomes a cutting and cleaning tool capable of stripping away rust, paint, and scale with remarkable selectivity. The water carries energy that loosens rust from the metal surface, while the abrasive particles provide the friction necessary to remove the oxide and corroded layers. The result is a clean, bright substrate with minimal heat buildup and a surface that is nearly geometrically true. The mechanics might sound technical, but the outcome is intuitive: rust is removed without gouging or thinning the underlying steel, adherent coatings are stripped away cleanly, and the bed is left with a uniform base ready for subsequent treatment. This combination of cleanliness, precision, and politeness to the metal makes abrasive water jetting a compelling option for repair shops and serious DIYers who want to do the job right the first time.
One of the most compelling advantages of abrasive water jetting is the balance it strikes between processing quality and time. In traditional rust-removal workflows, workers invest considerable effort in manual scraping or grinding to reach a stable metal surface. The process is labor-intensive, and fatigue becomes a practical limiter. Water jetting, by contrast, delivers a consistent result across large surfaces and complex geometries—flat panels, wheel wells, and contoured bed sides included—without the grime of grinding dust or the heat that can warp thin sections. The technique also shines when the rust sits on or near seams, welds, or edges that are difficult to reach with a brush or grinder. The jet can be directed with precision so that adjacent areas remain untouched, preserving the integrity of studs, mounting brackets, or reinforcement ribs that might otherwise be damaged by aggressive manual methods. The environmental angle is notable as well. Water jet systems recirculate the water and abrasive through closed-loop circuits, so waste is minimized. This recycling capability reduces both material costs and the environmental footprint, an increasingly important consideration in any repair work that aspires to be responsible and sustainable.
Compared with traditional methods like sandblasting or aggressive grinding, abrasive water jetting offers a cleaner, safer, and more predictable workspace. Dust is kept to a minimum because the process uses water as the primary carrier, and the abrasive media is contained within the jet stream rather than dispersed as airborne particulates. That means workers breathe easier, and the work area stays cleaner, reducing the need for extensive cleanups and protecting nearby components from dust contamination. The risk of over-abrasion—where the edge of a panel or a thin wall is worn away too aggressively—is mitigated by the operator’s control and the jet’s ability to be stopped and restarted with exacting precision. In practical terms, this translates into a more uniform surface texture and a better platform for adhesion of primers and coatings after rust removal. The end goal is not merely to remove corrosion but to leave behind a surface that behaves predictably under subsequent steps, whether you plan to patch the bed with a welded plate, replace a panel, or apply a robust bed liner.
Implementing abrasive water jetting on a truck bed begins long before the nozzle touches the metal. Preparation is essential. The bed must be clean and accessible, with any loose cargo and hardware removed or secured away from the work zone. A plan for the jet path should be created to minimize over-processing in areas that are already sound and to focus attention on the zones where rust is deepest. The abrasive choice matters as well. Garnet is a common pick because it is effective, relatively inexpensive, and produces a predictable finish on steel. The jet’s pressure and standoff distance—how far the nozzle sits from the surface—are calibrated to balance rust removal with the preservation of original metal thickness. Nozzle selection, typically a medium-diameter option for large surfaces, is paired with a scan of the bed to identify hotspots where rust has penetrated into welds or along seams. The aim is not to tear into the metal, but to give the surface a uniform, micro-rough finish that will bond well with primers later on. A skilled operator can modulate the energy delivered to each spot on the bed, pausing to check the depth of removal and the presence of any hidden pits that require deeper treatment.
The process is surprisingly methodical for something that appears so swift. The jet moves smoothly around curves and contours, guided by a combination of manual control and automated path planning when available. The operator watches for signs of undercutting or residual corrosion and adjusts pressure, feed rate, and the distance to the surface accordingly. In many cases, the rusted regions are non-destructive islands embedded in a larger sea of sound metal, so the ability to selectively remove only the compromised material becomes a significant benefit. Once the rust and old coatings have been effectively stripped, the bed surface emerges with a consistent metallic sheen and a micro-rough texture that is ideal for adhesion of rust inhibitors, primers, and bed liners. The absence of deep pits and the preservation of the base metal layer are not just cosmetic wins; they are sound engineering choices that contribute to the bed’s long-term durability under load, weather exposure, and vibrational stress.
After the rust is removed, the next phase is critical: inspection and appropriate patching or panel replacement. The clean surface makes it possible to identify lingering corrosion beneath the surface coat, hidden pits, or compromised seams that would not have been obvious prior to treatment. The inspection should confirm that there are no thin spots or through-thickness holes that would compromise the bed’s strength when loaded. This is the moment to decide whether a small patch will suffice or a larger panel replacement is required. Patch work, when done on a properly prepared substrate, can restore the bed to near-original strength without the added complexity of complete panel removal. In some cases, however, the rust has undermined the integrity of a larger portion of the bed, and the most durable solution is to replace the damaged section with a new panel. The choice between patching and replacing is guided by the extent of corrosion, the ease of achieving a proper fit, and the ultimately required load-bearing performance of the bed after repair.
With rust removed and the bed thoroughly inspected, the repair may proceed with confidence. A rust-inhibiting primer is applied to seal the metal and inhibit future oxidation. The primer creates a reactive foundation for the final coat, which could be a robust bed liner, a polyurethane coating, or a traditional paint system designed for heavy-duty use. Each coating option has its own merits: a bed liner offers impact resistance and a degree of chemical protection, while a high-quality primer and paint system delivers an aesthetically clean finish and a strong seal against moisture. The choice depends on the vehicle’s use, the owner’s preferences, and the climate in which the truck operates. Regardless of the coating choice, the sequence remains consistent: clean surfaces, resistant primer, and a protective top layer that can withstand daily abrasion, weather exposure, and incidental spills. The job is not finished the moment the paint dries or the bed liner cures. It becomes complete only when the bed is reassembled with all rails, tie-downs, and cargo management features reinstalled and verified for secure operation. This final step—reinstating hardware—ensures that the repaired bed can resume its demanding duties with reliability.
For readers who want to expand their understanding beyond this chapter, a deeper dive into the practicalities of water-jet rust removal and its broader applications can be found through the Master Truck Repair blog. This resource gathers practical notes, case studies, and ongoing commentary from shop floors that are actively using water-jet technology to improve rust removal outcomes and productivity. Access the blog to explore related topics and to see how other owners are integrating advanced surface preparation methods into their repair workflows. mastertruckrepairllc.com/blog/
As with any specialized repair technique, there are realities to consider. Abrasive water jet systems require trained operators, appropriate safety measures, and access to a facility capable of handling the equipment and waste water. The initial investment in equipment and training can be substantial, but the long-term gains—reduced labor, more predictable results, less material waste, and a cleaner working environment—often justify the cost for shops that repair multiple beds or vehicles. For owners who perform occasional repairs, partnering with a local shop that features a water jet setup can be a smart choice, enabling high-quality rust removal without the overhead of owning and maintaining the system. The decision to adopt this approach should balance frequency of repairs, the desired quality of finish, and the available workspace, along with the environmental considerations that increasingly influence contemporary repair practices.
In the larger arc of truck-bed repair, the rust-removal phase is the hinge between recognition and restoration. It determines whether a bed will be merely cosmetically refreshed or truly rebuilt to withstand the rough and ready demands of daily use. Abrasive water jet technology, when deployed with care, provides a path that respects the metal, minimizes waste, and yields a substrate ready for a durable, long-lasting finish. The technique encapsulates a broader shift in modern repair work: moving away from heavy-handed, one-size-fits-all methods toward tailored approaches that address the unique geometry of each bed, the specific nature of its corrosion, and the practical realities of a workshop’s workflow. The result is a truck bed that not only looks solid but also carries the confidence of structural soundness, a uniform foundation for coatings, and a future resilience that will serve its owner for many miles to come.
For further reference on the technical aspects and to compare formal research with field experience, see external scholarly resources that discuss abrasive water jet technology and its environmental and performance benefits. This chapter aligns practical, on-vehicle repair considerations with those insights, bridging the gap between theory and hands-on application. You can explore additional details in the cited external study, which provides a scientific perspective on the efficiency, precision, and environmental benefits that have driven broader adoption of water-jet rust removal in metal restoration projects. https://www.sciencedirect.com/science/article/pii/S2352789621001234
Patchwork and Panel Renewal: Restoring Truck Bed Integrity
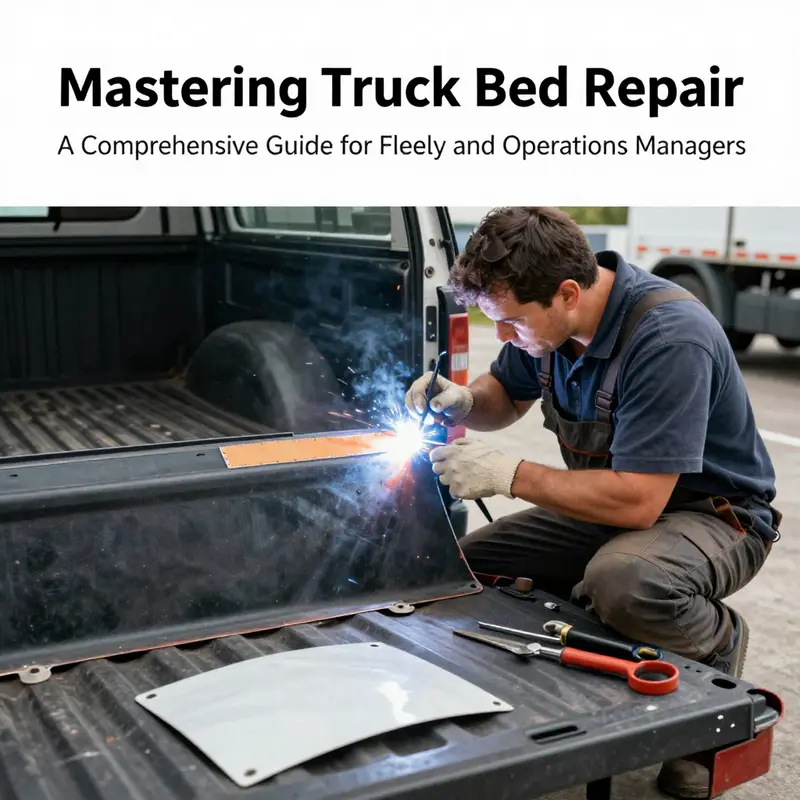
A truck bed endures a steady diet of duty – loaded, unloaded, rained on, hauled through mud and salt, and subjected to cargo shifts. Over time, that duty can leave wear, corrosion, dents, holes, and in the worst cases, structural compromise. When the bed shows damage, the repair path should be chosen by how bad the injury is and how the repair will restore strength and functionality. This chapter outlines practical options from simple patching to full panel replacement and describes finishing steps that protect coatings and extend service life.\n\nAdhesive patching for minor wear: If the surface is intact and the metal beneath is solid, thorough surface prep is essential. Clean the area to remove grease and old coatings, dry the surface completely, and use an epoxy resin applied in thin, even coats. Cure fully, sand smooth, and finish with primer and a bed liner or topcoat to restore the protective barrier. This approach is not universal, but it can keep the bed functional for light use without major disassembly.\n\nSteel plate patches for slightly deeper damage: For pits or small holes beyond simple brushing, a steel patch riveted or bolted over the damaged area can maintain a flat loading surface. Clean and degrease, cut a patch slightly larger than the hole, deburr edges, position over the damaged zone, and fasten with rivets or bolts. Seal the perimeter with a moisture resistant sealant to prevent water and grit intrusion. The patch preserves function while keeping metal loss to a minimum.\n\nPartial replacement for localized damage: When the bed floor or a wall panel is compromised but not the entire panel, remove the damaged portion, cut a matching replacement panel, and install it with screws or rivets. Ensure the seam is tight and flush with surrounding surfaces, and apply a waterproof coating to the new surface and edges to protect joints from moisture.\n\nFull panel replacement when needed: If the metal is severely thinned or perforated and the bed’s strength is at risk, replace the entire panel. Remove the damaged panel and any affected supports, fit a new panel with the original geometry, and fasten in position. Seal gaps, apply rust-inhibiting primer, and finish with a bed liner or protective topcoat to withstand abrasion and weather.\n\nFinishing and maintenance: Remove rust fully and apply a rust-inhibiting primer to bare metal. Choose a bed liner that offers abrasion resistance and chemical protection. Ensure patches, riveted joints, and seams remain level with surrounding surfaces to avoid snag points. Respect the bed’s geometry during patching or replacement so ribs and frame rails remain aligned. If welding is used, manage heat input with back-butting and intermittent welding to minimize distortion, then grind smooth before priming.\n\nBeyond technique: treat repairs as ongoing maintenance. Regular inspections and a consistent protective coating regimen help prevent recurrence. Document repairs with area, materials, and methods for future reference and resale considerations.\n\nResources: For practical maintenance strategies that complement patching and replacement work, see Turnage-Sons in-house truck maintenance. External reference: a detailed truck bed repair guide from a leading DIY resource at https://www.popularmechanics.com/cars/how-to/a37859408/truck-bed-repair-guide/.
Applying Protective Coatings to Truck Beds
Protective coatings in truck bed repair are a critical final step that defends the bed against moisture, salt, chemicals, and abrasion. After a bed repair, applying a coating system helps seal the surface, control porosity, and extend service life. The coating should be selected based on service demands, with polyurea or polyurethane systems offering high durability, fast cure, and strong chemical resistance, while DIY aerosol sprays provide easier maintenance for light-duty use but may not reach the same thickness or long-term performance. Proper surface preparation including cleaning, degreasing, rust removal, and ensuring the surface is dry is essential to maximize adhesion. Poor prep traps contaminants under the coating, leading to blistering or premature failure. Application typically involves spray equipment that lays a uniform film to a target thickness, followed by a cure period under controlled conditions. Post-application inspection and careful attention to fasteners, edges, and penetrations help ensure the coating remains intact around interfaces. Ongoing maintenance, routine cleaning, and timely touch-ups preserve the barrier and maximize the bed’s lifecycle value. External resources, including industry guides, can provide deeper technical details on substrate prep, cure times, and safety protocols.
Final thoughts
Systematically addressing truck bed damages is vital for sustaining fleet productivity and safety standards. By thoroughly assessing damage, employing effective rust removal techniques, carefully patching or replacing panels, and applying high-quality protective coatings, operators can significantly extend their truck beds’ lifespan. This proactive maintenance strategy not only preserves asset value but also enhances the operational effectiveness of your fleet. Investing in truck bed repair ultimately translates to improved performance and reduced long-term expenses.