In the realm of logistics and transportation, it is crucial for fleet managers and trucking company owners to maintain their equipment in prime condition. The Spectrum On30 Shay truck is a hallmark of durability and style in railroading, but even the best machines require upkeep. This guide serves as a detailed resource for sourcing parts, repairing, and maintaining the Spectrum On30 Shay truck, while also addressing common issues that may arise during operation. Each chapter unfolds an aspect of repair and maintenance, such as sourcing parts from reputable dealers, a step-by-step repair guide, essential tools and materials, post-repair maintenance tips, and troubleshooting common repair problems. Through careful attention to these elements, operators can keep their fleets running smoothly and efficiently.
Sourcing and Vetting Replacement Parts for a Narrow-Gauge Shay Truck in On30 Scale
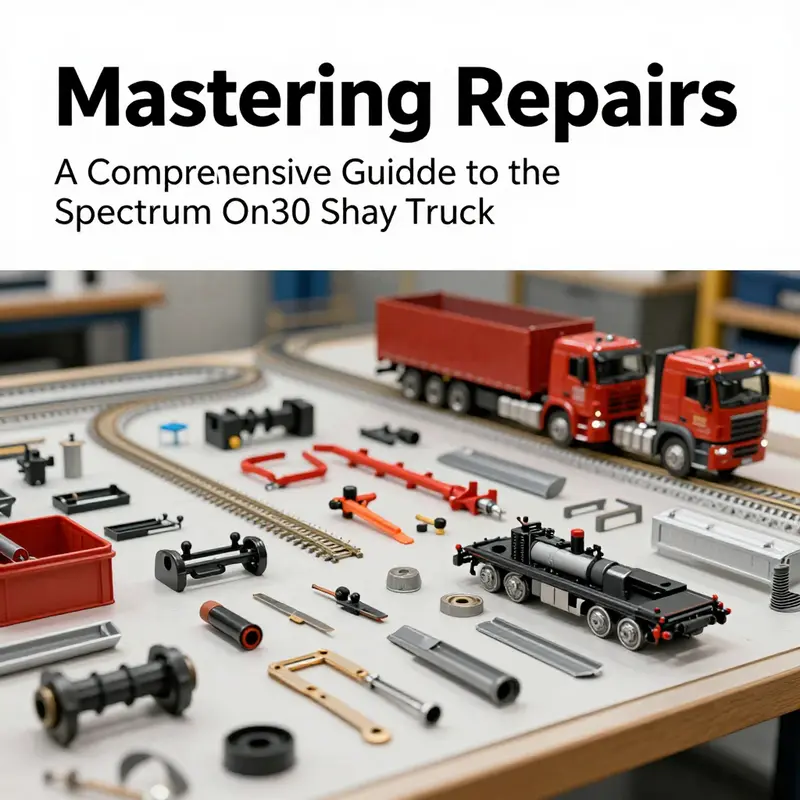
Repairing a delicate On30 Shay truck demands a careful blend of diagnosis, sourcing, and precise reassembly. The process begins long before the first screw is touched: it centers on understanding which components anchor the truck to reliable operation and scale accuracy. A two-truck Shay in On30 scale presents with a handful of recurring culprits that can derail performance, from worn wheel bearings and bent axles to cracked frames or degraded suspension components. The goal is not simply to patch a part but to restore the truck to its original geometry and running character. In practice that means tracing symptoms back to their source with a calm, methodical approach, then selecting parts that maintain both compatibility and fidelity to the model’s proportions. When the time comes to replace items, enthusiasts quickly learn that the best route combines official parts from the original maker with well-matched components from trusted suppliers. The maker’s own catalog is the gold standard for frames, axles, and structural elements that must comply with exacting tolerances to preserve the model’s wheelbase, gear alignment, and coupler height. Repair work of this kind benefits from starting with a catalog check. If a part number exists for the affected chassis feature—say the truck frame or the main axle assembly—cross-referencing the number against current listings helps confirm compatibility. In many cases the official suppliers provide direct replacements or clearly delineated compatible options. Those who want the strongest assurance of fit tend to prioritize genuine parts or official equivalents rather than non-authorized substitutes. This is especially true for structurally critical components where even a fraction of a millimeter in misalignment can ripple into poor track contact, uneven gearing, or unreliable coupler operation. The sourcing mindset then extends to the material makeup of the replacement. Metal frames and robust steel axles are typically preferred for long-term rigidity, while certain small rigid bushings or gears may be offered in precision-engineered plastics that minimize play without sacrificing smooth motion. After identifying a likely candidate, the next phase focuses on verification. Even within the realm of official parts, specifications can shift as production evolves. The best practice is to verify color, finish, and interface details against the current catalog page and, if possible, to obtain a part drawing or photo from the supplier. If you are unable to obtain clear documentation, reach out to a knowledgeable distributor or forum moderator who can help confirm that the part will align with the intended structure and gear ratios. It is here that the value of a trusted repair community becomes evident. A few well-placed questions can prevent a mismatch that would otherwise require a return or a second round of partial disassembly. The reality of sourcing is that while the maker’s catalog provides a baseline, secondary marketplaces also play a pivotal role in restoration work. An undecorated set of truck components—essentially a kit of unpainted parts designed for assembly or repair—can be a practical option when the goal is to preserve the truck’s mechanical integrity while allowing a careful repaint or re-decal process later on. This route often surfaces on popular platforms where hobbyists trade or liquidate components that have become surplus to their own projects. The caveat is clear: the marketplace is a spectrum, from trusted, well-described listings with multiple photos and precise measurements to opportunistic postings lacking documentation or with unclear condition. In those situations, the prudent approach is to ask for detailed photos, confirm part numbers if possible, and request measurements such as wheelbase, wheel diameter, and bolt hole spacing. The more data you collect before purchase, the less risk you assume when the package arrives. Once parts are on the way, the work continues with a disciplined inspection and preparation routine. Open every package with the same careful attention you would give to a fresh kit. Inspect fasteners for corrosion or stripped threads, verify that new axles rotate freely without binding, and test-fit a frame or truck assembly against the bodywork to ensure alignment with the bogies and frame pockets. It is not unusual to find small deviations in too-tight tolerances or minor burrs along the gear teeth. These issues are best remedied on the bench with a fine needle file, a tiny deburring tool, and a precision reamer if needed. The aim is to achieve a clean, smooth interface rather than forcing a snug fit that could bend a frame or stress a wheel axle. As you approach reassembly, consider the broader operational context: the track you run, the coupler height at your layout, and the aesthetic you wish to preserve. Structural integrity is the foundation, but consistent performance depends on proper lubrication, correct gear mesh, and accurate suspension. A careful lubrication plan involves using a light, non-resinous lubricant on gears and axles, applied sparingly with a fine brush or needle applicator. Avoid over-lubing, which can attract dust and degrade performance. If a portion of the drive train shows signs of wear that cannot be corrected with cleaning and lubrication alone, it is wise to re-evaluate the replacement parts you are using. Sometimes a slightly different gear mesh or a subtly different axle diameter can be a better match than forcing a direct substitution that feels close but performs poorly over time. The repair philosophy here is to balance fidelity with function. You want to preserve the scale look—keeping the wheel gauge and overall silhouette true—while ensuring the truck remains reliable across dozens of cycles through switches and curves. In many cases, this balance is achieved not by a single perfect part but by a combination: a precise frame, a compatible axle set, and, where appropriate, a refurbished or compatible gear train sourced from a reputable supplier. The decision to choose official parts versus compatible equivalents can also hinge on availability, turnaround time, and your personal tolerance for a potential mismatch in crest or texture that might only be visible to the most discerning observer. At this junction, it helps to document your choices and test your work incrementally. Photograph each stage of disassembly, label fasteners, and create a short testing checklist: spin the wheels by hand, listen for binding, and run the truck on a short stretch of track to confirm that the movement remains even and quiet. Keeping notes will pay dividends if you encounter an unexpected symptom later, such as transient clicking or a shift in wheel alignment after a few runs. When the parts are sourced and the assembly is complete, you can revisit the painting and detailing phase with renewed confidence. The undecorated components you may have chosen can now be finished to match the rest of your fleet, ensuring that every truck presents a coherent, period-appropriate look. The process of sourcing, verifying, and assembling replacement parts is as much an exercise in patience as in technical skill. It rewards a methodical mindset, a willingness to confirm compatibility, and a respect for the model’s original engineering. For those who want to dive deeper into repair methodologies and practical tips drawn from hands-on experiences, a resourceful way to supplement this journey is to explore repair-focused content from dedicated hobbyist forums and vendor-agnostic guides. Such materials can offer troubleshooting strategies, measurement techniques, and workflow templates that are broadly applicable across similar narrow-gauge model trucks. A practical habit is to bookmark a trusted repair blog or community page where readers share measurements, part substitutions, and diagnostic notes. For ongoing, actionable guidance and to see how others approach a range of maintenance challenges, you can consult the Master Truck Repair LLC blog. This resource provides regular insights into hands-on repair practices and part-handling considerations that align well with the careful sourcing and verification approach outlined here. See the link in the side notes for quick access to the broader repair discussions and practical demonstrations that complement the steps described above. In the broader landscape of model-train restoration, it is also prudent to cross-check official catalogs and distributor notices. A maker’s official site or authorized distributor listings often carry the most up-to-date compatibility charts and refurbishment recommendations. While the official catalog is your primary reference for authenticity and fit, the community-driven knowledge base remains a valuable supplement, offering anecdotal guidance born from years of hands-on work with similar equipment. The collaboration between official parts and community wisdom helps ensure that the project remains both faithful to the prototype’s appearance and dependable in operation. For readers seeking authoritative official guidance from the original manufacturer, consult the maker’s catalog and official repair resources online. This material underpins the choices you make during a restoration project and supports a long-term plan for maintaining the truck’s performance and value. The journey from diagnosis to a reliable, restored truck is never a sprint. It is a careful sequence of identifying what must be replaced or repaired, verifying compatibility, sourcing from trusted channels, and executing a precise reassembly. The result is a model that not only looks the part on display but also behaves with the smooth, predictable motion that keeps your miniature railway running faithfully and reliably through many excursions on your layout. External resource: https://www.spectrumscalemodels.com/
null
null
Precision, Patience, and Parts: Repairing an On30-Scale Two-Truck Model Locomotive
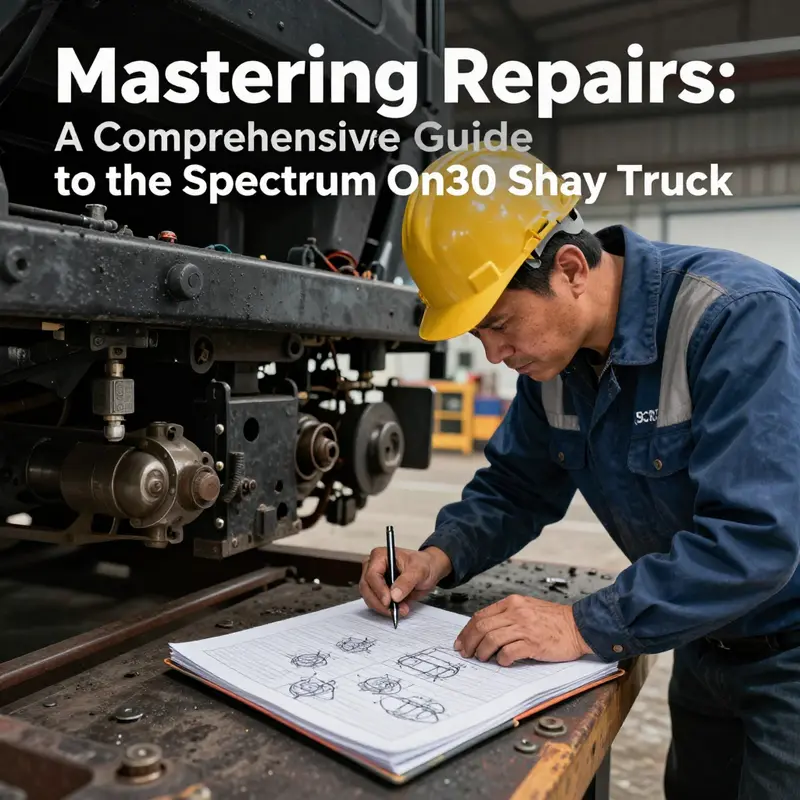
A practical repair of a compact two-truck On30-scale locomotive begins long before the first screw is loosened. It starts with a clear intent: to restore reliability while preserving the character of the original model. In many cases, an incomplete or undecorated parts set arrives with basic mechanisms intact but missing key details. The path forward is not a sprint but a careful ascent through diagnosis, sourcing, and assembly. A steady hand, a clean workspace, and a plan that respects both the scale and the delicate engineering inside the chassis will determine whether the repair ends in a faithful remake or a hurried patch that soon shows its flaws. The essence is to treat the project as a craft task rather than a quick repair job. Each tiny component—the screws, the tiny pins, the micro-gears—deserves respect. And because On30 models operate at a fraction of an inch, the margin between success and misalignment is measured in tenths of a millimeter. The right mindset encompasses not only technical know-how but also a willingness to improvise when a specific part is missing and a preference for reversible methods whenever possible. The repair journey, therefore, is as much about problem solving as it is about applying the correct tools and materials with restraint and care.
Begin with a careful assessment. Set the chassis on a bright, clean mat and inspect the axles, wheels, and pickup contacts. Listen for any grinding noises during a gentle rotation. Look for worn axles, bent axles, or loose wheels. If the truck is from an undecorated or incomplete kit, you may face gaps that require substitution or fabrication. The cab, body details, or real-scale features may be absent, and you will need to decide whether to source donor parts or design substitutes that respect the model’s proportions and weight distribution. A well-planned approach recognizes that the objective isn’t merely to make it run, but to make it run smoothly, with consistent electrical contact and reliable traction across a curve and a straight track alike.
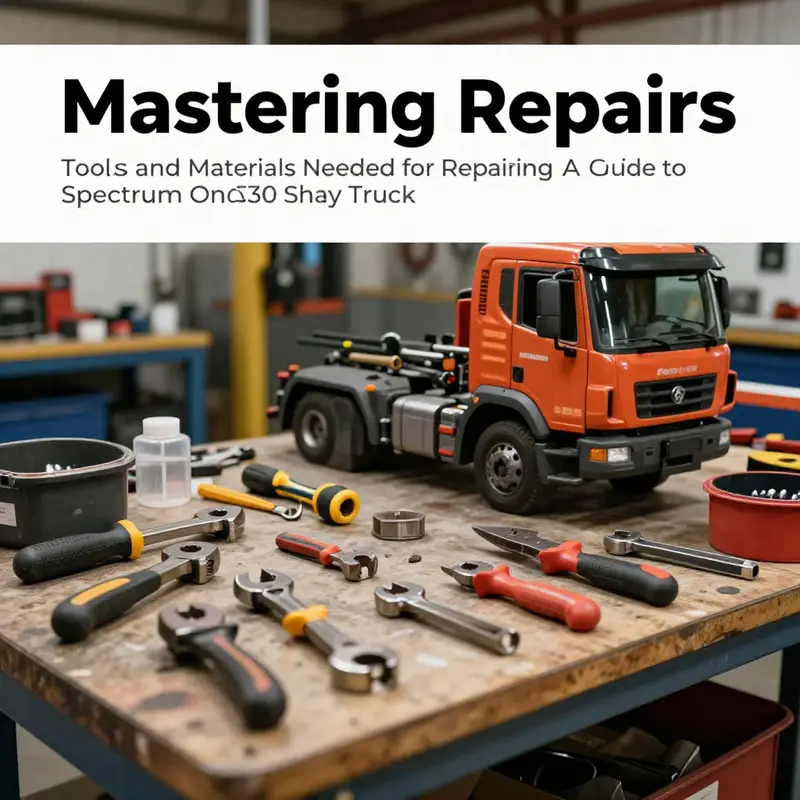
The toolkit for this kind of project is not a single specialty instrument but a small collection of precise, purpose-built tools. You will use precision screwdrivers with fine tips to work through tiny screws that secure the trucks to the frame and hold the wheel-sets in place. Fine-tipped tweezers are invaluable for dropping in small pins, wires, or rivet-like details without bending them. Needle files and fine-grit sandpaper allow you to smooth rough edges after cutting or fitting parts, ensuring that pieces sit flush and move freely without binding. Plastic cement, applied with a cautious touch, provides a clean, solid bond for plastic components while avoiding the clouding that comes from heavier adhesives. For touch-ups and precision assembly, miniature paint brushes give you control over small areas where a dab of paint or a thin layer of adhesive is needed. This is not a toolkit meant for impulse decisions; it is a precision-oriented set that rewards patience and methodical work.
When you are dealing with an undecorated or incomplete set, the challenge is twofold. First, determine what is missing or unusable and decide how to replace it. Second, ensure that any replacement part—whether sourced from an external kit or created with a 3D printer—meets the scale’s tolerances and aligns with the rest of the mechanism. Missing items often include the cab or certain body details that define the silhouette and balance of the locomotive. Even when the mechanical core is intact, imprecise or missing body components can alter weight distribution, which in turn affects footing on the track and the ability to negotiate curves. The practical response is to plan for both a mechanical restoration and a careful aesthetic restoration. If you need to fill gaps with new components, you can consider 3D-printed parts that are designed to match the geometry of the original. A properly dimensioned shell component or a connector piece can be printed to fit precisely, and you can finish it with light primer and matching hatch details to preserve the overall appearance. This is where a pragmatic choice helps: use a donor part from a similar model or fabricate a replacement that mirrors the intended design rather than attempting a crude, jury-rigged fix.
Having a reliable set of replacement parts is essential, and you should escape the temptation to improvise with parts that do not meet the model’s tolerances. Replacement may involve wheelsets, trucks, or small body-detail pieces. When you source these parts, look for items designed to fit the same footprint, wheel gauge, and mounting pattern. The goal is to maintain consistent electrical contact through the wheel pickups and to ensure that the axles rotate freely without rubbing on the frame. In the absence of the exact piece, consider compatible alternatives that preserve the correct geometry and weight balance. The undecorated nature of the kit makes it particularly forgiving in one respect: there is less detail masking the lines where you must align new components, but it also means you may need to fabricate or source more parts to achieve a faithful finish.
Sourcing the right parts is a balancing act between compatibility, availability, and value. You can often find suitable replacement sections through reputable hobby retailers that stock model railroad components, or you can look for a parts catalog from the original maker or an authorized service network. The critical check is to verify measurements, confirm compatibility with the drive mechanism, and confirm the ability to maintain consistent wheel-tread contact and pickup performance. In many cases, an undecorated kit provides a rare opportunity to tune the drive system with higher-quality components that improve reliability without altering the model’s overall look. In addition to direct parts, you may encounter options to print or fabricate missing shells or details. A well-planned approach uses a combination of off-the-shelf parts for the critical mechanical interfaces and carefully tailored custom pieces for finish and silhouette.
Throughout the process, keep the environment clean. Small particles can lodge in gear teeth or axle bearings and cause intermittent or total failure. Clean tracks, wheels, and contact surfaces with gentle swabs and isopropyl alcohol to remove oils and dust before and after disassembly. When reassembling, apply lubrication only to the moving interfaces—axles, pinions, and gear shafts—with a dielectric-safe silicone oil or a light, model-grade lubricant. Use lubrication sparingly; excess oil can attract dust and degrade performance over time. The mechanical joints benefit from a restrained application, while contact surfaces should remain dry enough to maintain reliable electrical pickup.
As you assemble, the aim is to preserve the original balance and performance. If you find the ride to be noticeably rough after the first test run, revisit the wheel seating and axle alignment. Realign the wheelsets to ensure that both wheels contact the rail with uniform pressure and that the axles do not rub against the frame or pickups. A gentle cadence in testing helps you identify where any binding occurs. If you detect binding near a joint, inspect the fit of the surrounding parts and confirm that no adhesive has crept onto moving surfaces. The more you test and observe, the better you can fine-tune the alignment before committing to a final finish.
Aesthetics are not afterthoughts but an integral part of the repair, especially with undecorated sets that are intended for customization or detailed weathering. Once the mechanicals behave smoothly, you can address the exterior. Cleaning the shell, lightly sanding any rough spots, and priming unpainted surfaces prepares the piece for a finish that matches its intended look. If you choose to repaint or weather the model, apply paint in thin layers and allow ample drying time between applications. Weathering should be subtle and deliberate; in a model of this scale, heavy weathering can overwhelm the delicate lines and create an unrealistic impression. A careful hand with shading and dry brushing can introduce depth and dimension without compromising the silhouette or scale cues.
The repair path you choose should reflect both the mechanical needs and the historical or personal fidelity you want to preserve. If the remaining parts do not align with the original’s weight distribution, you may adjust heavier pieces toward the center of gravity to stabilize the model on straight runs and gentle curves. If you accessory the model with donor details, ensure that the added weight does not exceed the overall balance or friction constraints that govern its performance on narrow gauge track. In short, the repair is an exercise in harmonizing three elements: precise mechanical function, faithful silhouette, and reliable electrical reliability. When these three align, you gain a model that not only runs well but also tells a coherent story on a modest On30 layout.
For readers seeking broader repair strategies and maintenance philosophies beyond the specific chassis, a resource commonly referenced in this space provides a framework for ongoing upkeep and emergency planning. This broader context helps modelers build resilience into their fleets by encouraging routine checks, spare parts planning, and a small-fund approach to repairs that keeps the layout running without disruption. When you visit a general repair library or blog like this, you’ll find practical advice on planning, budgeting, and scheduling maintenance activities, all of which support longer-lasting reliability for your miniature locomotives. To explore related insights, you can consult the Master Truck Repair blog for further ideas and methods that translate well to model configurations like this one. See more at the linked resource: Master Truck Repair blog.
If you are seeking official guidance and parts support from a manufacturer, the parts catalog offered by the original maker’s network typically provides the most authoritative reference for fit and compatibility. Accessing the catalog can help you confirm which components are compatible with a given drive system and frame geometry, and it can guide you to legitimate sources for replacement parts or approved alternatives. While many modelers rely on generic parts to repair a specific chassis, checking the official catalog ensures that you stay within the boundaries of intended compatibility and avoids the risk of introducing incompatible hardware. For readers who want to corroborate the information above with an industry-standard resource, refer to the official parts and accessories catalog available through the manufacturer’s site. External reference: https://www.bachmanntrains.com/
In sum, repairing an On30-scale two-truck model locomotive—especially one arriving as an undecorated or incomplete set—demands a careful blend of diagnostic skill, precise tooling, and thoughtful sourcing. It requires treating the repair as both a mechanical restoration and a miniaturized art project. When you plan meticulously, work slowly, and test iteratively, the result is more than a return to operation. It becomes a restoration that respects the model’s scale, preserves its detailing potential, and offers a stable platform for future tuning and weathering. The chapter you now read is designed to be a practical compass for that journey: a reminder that quality repairs are built on clean hands, accurate measurements, and a reverence for the small but mighty components that turn a bundle of metal and plastic into a living, moving piece of history.
Precision Repair and Post-Repair Care for the Spectrum On30 Shay Truck
When a Spectrum On30 Shay truck has suffered wear or damage, the moment of repair is only half the battle. The real test lies in how the truck performs after the fix and how reliably it will run over the layout in the weeks to come. This chapter provides a practical path from deciding to repair through careful reassembly and into a sustainable post-repair care routine. It emphasizes a balanced approach: respect for the delicate mechanisms inside the truck, methodical attention to alignment and contact, and a forward-looking plan to keep the truck dependable without turning your bench into a shop full of temporary fixes. The goal is to restore smooth operation, maintain electrical continuity, and extend the life of the wheels and frames through disciplined maintenance.
First, sourcing parts matters. Replacement components should fit precisely and maintain the faithful scale and operation. When possible, use undecorated parts for exact fitment, compatibility checks, and careful detailing after the repair. Verify that the parts you buy are designed for the same truck model and gauge, and that the replacement components include the elements you actually need such as wheelsets, journal bearings, sideframes, and springs. This reduces mismatches and the risk of misalignment that can cause binding or poor electrical contact. A well-curated parts set makes the difference between a repaired appearance and a repaired function that stands up to real use.
Begin the repair with a careful inspection before disassembly. Look for cracks in sideframes, bent axles, or wheelsets that sit high or low in the bogie. A warped frame can misalign journal boxes and derail the gear mesh, leading to binding or intermittent power pickup. Spin each wheel by hand, feeling for rough spots, wobble, or side-to-side play. If wheels are out of gauge, expect friction, drag on the axles, and inconsistent electrical contact. Listen for ticking or irregular sounds that could indicate a binding bearing or misaligned wheelset.
Disassemble with a patient, methodical approach. Use a small non-marring tool set and a soft mat to protect parts. Remove wheelsets first to inspect axles and journal boxes. Catalog each component and note wear. If journal bearings show flattening or pitting, plan for replacement. If sideframes have hairline cracks near loaded regions, plan for repair or replacement. The goal is to restore symmetry and consistent movement, and to ensure replacement parts fit the exact bore and wheel diameter so the wheelset stays true to gauge when reassembled.
Cleaning is essential. Remove old grease and contaminants with a mild solvent and lint-free swabs. Pay special attention to wheel faces and contact surfaces of the pickups. Clean contact pads of oxidized grease or dust that can cause loss of power. Dry everything thoroughly to prevent moisture. When re-lubricating, use a light oil designed for model trains and apply sparingly. Over-lubricating invites dirt and can cause more harm. Reassemble when components move freely and wheel treads sit square on their axles without excessive side play.
Reassembly should be careful, seating bearings and sideframes without forcing them. Test fit tolerances before applying adhesive. Reattach wheelsets and check that wheels run true through their travel arc. A simple gauge check confirms even spacing and no binding. Watch the electrical pickup leads during reassembly and ensure they are routed correctly and insulated to prevent shorting. If you must adjust pickup wires, do so with care.
Bench test the repaired truck before layout testing. Run it slowly on a clean flat surface, listening for hums or hesitations and watching for wheel slip. If hesitation occurs at a point, recheck gauge and pickup alignment. The goal is reliability rather than speed. A well-tuned truck should run smoothly and supply clean power to the motor.
Establish a post-repair maintenance routine. After each run, inspect wheel treads for flat spots and glazing. Recheck wheel gauge and periodically remove and inspect wheelsets for dust buildup and light lubrication. Ensure the track is clean and well aligned to minimize resistance and derailments. Keep a small toolkit handy and treat every maintenance as a re-verification of alignment, contact, and lubrication.
For ongoing care, consider a basic framework for sourcing and using parts that emphasizes compatibility with the exact scale and mechanism. When you finally return the repaired truck to rails, run it in a controlled manner for a while and observe its behavior across different track conditions. Be prepared to adjust lubrication, contact pressure, or wheel gauge slightly based on what you observe. Repair is not a one-off event; it is the start of a longer relationship with model upkeep.
External reference: https://mastertruckrepairllc.com/turnage-sons-in-house-truck-maintenance/
Restoring a Narrow-Gauge Two-Truck Shay: A Thorough, Hands-On Guide to Truck Repair
In the world of micro-layout dreams and detailed dioramas, a small, geared locomotive can carry a surprising amount of character. When its trucks seize up or start to derail, the entire engine loses its rhythm and the layout loses its beat. Repair begins with a patient, methodical mindset rather than a quick swap of parts. The practical path is to diagnose, then decide whether a careful adjustment, a thorough cleaning, a simple re-seat, or a targeted replacement offers the best balance between fidelity and function. For anyone venturing into the repair of a narrow-gauge two-truck Shay-style model, the journey is as much about preserving a convincing silhouette as it is about restoring reliable operation. The key is to treat the trucks as the heartbeat of the locomotive: when they run true, the entire engine runs true. When they don’t, you hear the wobble in the wheels before you see it in the shadows of the layout curves.To start, remove the shell with a light touch and set it aside on a non-scratching pad. This is not simply a cosmetic exterior; the shell houses the access points for the trucks and often conceals guide pins that help the chassis stay square during the rebuild. With the chassis exposed, inspect the trucks visually for obvious signs of trouble—bent side frames, cracked journal boxes, or wheels that sit out of gauge. A casual inspection may reveal a binding cause: a burr on a mounting screw, a misaligned wheel set, or a small piece of flash from the casting that nudges the wheel when the truck rotates. As you rotate each wheel by hand, listen for gritty sounds or feel for a sticky spot. That precise moment—where smooth rotation turns rough—maps the fault and guides your next move.Lubrication follows diagnostic work but must be applied with restraint. A tiny drop at the axle ends and a whisper of lubricant on the journal surfaces often suffices. The objective is to reduce friction without attracting dust or gumming the gearing. If the wheels remain resistant after lubrication, the source of the problem may be in the journal boxes themselves, possibly with a misfit axle or a burr that catches on the bore. When clean rotation returns, recheck the electrical pickup. In many small locomotives, power is drawn through wheel rims and a pickup contact that can be disturbed by dirt, worn shoes, or a slightly deformed axle shoulder. A few swipes with isopropyl alcohol on the wheel treads and a re-check of the contact surfaces can restore reliable current flow. If the electrical path remains inconsistent, you may need to examine the pickup assembly more closely, including springs and contact points, and if necessary, replace a worn pickup shoe with an undecorated replacement piece chosen for your exact wheelbase and contact geometry. This undecorated replacement market is visible in listings that offer parts unpainted or unassembled for compatibility and color-matching; such options allow you to restore function without sacrificing the model’s overall appearance.Sometimes, the simplest repair is not a direct part swap but a careful re-seat of the existing components. The trucks sit in place via mounting screws that can loosen over time. The first step is to loosen these screws just enough to shim the truck into the correct position without introducing play in the shell. With a straightedge or careful eye, verify that the trucks are aligned parallel to the locomotive’s frame and that the wheelsets sit square within the side guards. A minute adjustment here—perhaps a delicate twist of the mounting plate or a wafer-thin shim under one side—can eliminate an out-of-square condition that would otherwise throw the shell off its line through curves. If a side frame has drooped from a prior impact, a gentle realignment may be enough; if the frame shows a permanent warp, it may be time to consider a replacement side frame or a small reinforcement to restore rigidity without compromising flexibility. In some builds, replacing both trucks yields the cleanest, most predictable performance, particularly on a layout with a variety of curves. The aim is to restore symmetry and balance so that both trucks share the workload evenly across the rails and maintain consistent pickup along the entire length of the track.Gearing is another critical phase of the repair dance. A smooth, quiet drive train depends on properly meshing gears and a stable relationship between the drive axles and their corresponding gears. If you detect binding, rotate the wheelset and listen for irregular clicks that indicate a misalignment or a tooth that binds under load. The cure is careful: you may need to re-seat a gear, adjust its mounting distance, or in some cases, gently shim the gear stack to achieve the correct backlash. A mesh that is too tight resists startup and produces stutter at low speed; one that is too loose creates a rattling under modest load. In practice, test fitting and incremental adjustment are your most reliable tools. Keep a small gauge handy to verify that wheel spacing remains consistent after any adjustment. After the drive train feels settled, recheck the coupling heights and the clearance between wheels and the frame. A perfect run depends not only on the trucks themselves but also on how well the entire floor of the locomotive carries its power to the rails without introducing tilt or rub near the coupler area.In many repair stories, the electrical story is the quiet constant—often the first sign something is misbehaving. A key principle is to keep the power path clean and continuous. If the current only flows intermittently, inspect the contact points for wear and ensure no oxide or oil interferes with the transfer of electricity from wheel rims to the pickup springs or shoes. Cleanliness is your ally here; a soft cloth with a touch of isopropyl alcohol tends to work better than aggressive solvents on delicate plastics. If your pickup shoes show flattening or wear, replacement with a properly matched undecorated alternative often returns smooth power transfer without altering performance beyond the intended design.Patience is essential, and so is restraint. Do not rush to replace components at the first sign of trouble. Small adjustments—tightening or loosening a mounting screw by a fraction, re-seat a wheelset, or re-align a plate—often yield the most durable fixes. Keep a tidy work area, label screws, and photograph your steps so you can reverse any move if needed. A culture of incremental testing after each change makes it far more likely you’ll identify the exact cause of the issue and confirm the cure with confidence. The long view is practical; it saves you from overhauling the trucks again in a few weeks and preserves the model’s detailing and finish. A well-executed repair respects the original design while restoring the locomotive to a dependable, repeatable rhythm on the layout. It also builds a repeatable process you can apply to other projects, whether large or small.To those who approach this work with a broader curiosity about maintenance, the principle remains universal: part flexibility, part precise alignment, and part careful cleaning create a stable foundation for reliable operation. If you want more detailed, field-tested insight into truck maintenance and the careful disassembly and reassembly techniques that underpin successful repairs, consider visiting Master Truck Repair Blog. The breadth of topics there offers grounding in routine checks, lubrication practices, and the discipline of safe handling—principles that translate well to the micro-gear world of model-train trucks even when the specifics differ. The cross-pollination from broader vehicle repair practice can equip hobbyists with a steadier nerve for handling tiny, delicate parts and a clear plan for when to reach for replacement components.As you weave these ideas into practice, remember that the relay between power and motion is the chassis’s most intimate relationship with the rails. When both trucks sit square and rotate freely, when the electrical path remains stable from wheel to rail, and when the gearing breathes with a quiet, even rhythm, the model stops being merely a fragment of metal and glass and becomes a storyteller again—the engine that conjures scenes of long-forgotten yards, returning to life with every careful turn of the wheels. The repair mindset you cultivate—documenting symptoms, testing in small steps, keeping a small stock of compatible undecorated parts—becomes a resource you can draw on for years to come. In time, those tiny gears and wheels reveal that the model’s reliability is not just a technical achievement but a quiet form of workmanship that honors the craft, and the layout, you’ve built around it.For readers seeking a practical reminder of available parts, a marketplace listing demonstrates the kind of undecorated components that support repairs without repainting or detailing. External reference: https://www.ebay.com/itm/175984362334
Final thoughts
In summary, understanding the repair and maintenance of the Spectrum On30 Shay truck is vital for fleet managers and operators in ensuring operational efficiency. By sourcing quality parts, following systematic repair processes, employing the right tools, and adhering to maintenance tips and troubleshooting techniques, you can prolong the lifespan of your equipment and minimize downtime. Ultimately, investing time and resources into proper care for the Spectrum On30 Shay truck pays off in performance reliability and operational cost-effectiveness.