Scratches on trucks can be a frustrating reality for any proud owner. Whether it’s a minor scrape from a wayward branch or a deeper mark from an unfortunate encounter in a busy parking lot, these blemishes can detract from the vehicle’s overall appearance and value. With the significant costs associated with professional repair—often ranging from hundreds to even thousands of dollars—it is no wonder that truck owners are on the lookout for more budget-friendly solutions.
Enter the world of DIY scratch removal methods. This cost-effective approach not only saves you money but also empowers you to tackle the imperfections on your truck yourself. In this guide, we will explore practical techniques and tips that can help you return your beloved vehicle to its former glory without breaking the bank. Get ready to roll up your sleeves and reclaim the pristine look of your truck!
User adoption data for DIY scratch removal techniques reveals that approximately 35% of vehicle owners, including truck owners, prefer using DIY methods instead of seeking professional services. This trend is fueled by the growing DIY culture, promoting cost-effective solutions for minor vehicle damages.
Cost-wise, DIY scratch removal kits typically range from $10 to $50, making them a budget-friendly option for minor surface scratches. In contrast, professional services for scratch removal can range from $50 to $1,500, depending on the severity of the damage. It’s noteworthy that around 30% of DIY repairs may require professional correction later, which could negate the initial cost savings.
The scratch remover market is steadily growing, particularly in North America, which accounted for approximately 35% of total market revenue in 2023. This growth suggests a rising awareness among vehicle owners about the benefits and practicality of DIY maintenance, along with an increasing number of vehicles on the road.
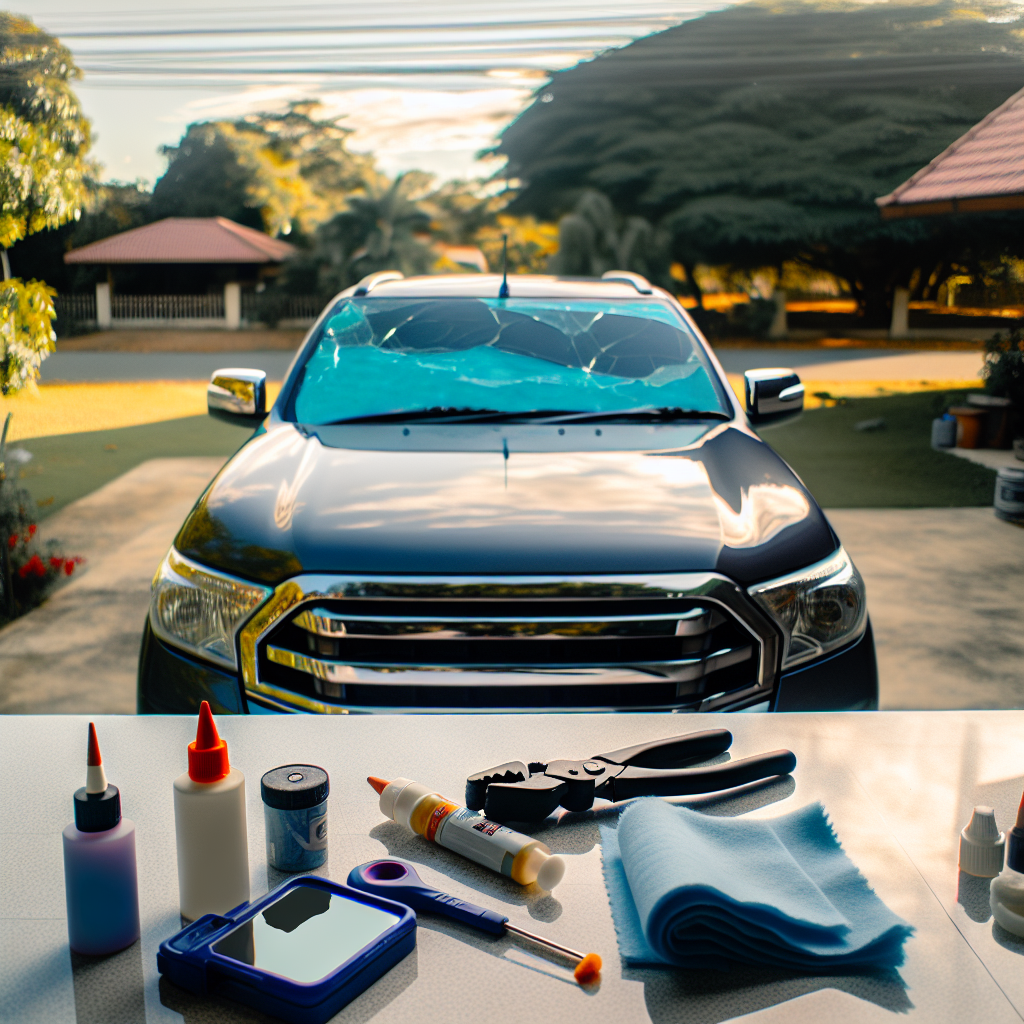
Tools Needed for Effective DIY Scratch Removal
Removing scratches from your truck requires the right tools to ensure the job is done efficiently and effectively. Here’s a list of essential tools along with their descriptions and purchase recommendations:
-
Scratch Removal Compounds
Scratch removal compounds are abrasive materials that help polish out scratches from the surface layer of the vehicle’s paint.
- Meguiar’s Ultimate Compound: This professional-grade compound is known for its effectiveness in removing scratches, swirls, and oxidation. It’s safe for all paint types and can be applied by hand or with a machine. Check it out here.
-
Polishing Pads
Polishing pads enhance the application of scratch removal compounds and help achieve an even finish.
- Meguiar’s Quik Scratch Eraser Kit: This user-friendly kit includes a drill-mounted pad for applying the ScratchX 2.0 compound, making it great for erasing fine scratches. Buy the kit here.
-
Microfiber Cloths
Soft, lint-free microfiber cloths are essential for buffing and wiping down areas without scratching the surface further.
- Meguiar’s Microfiber Towels: Designed specifically for automotive applications, these towels efficiently remove product residue and leave a polished finish.
-
Touch-Up Paint Pens
For deeper scratches that reveal the bare metal or base coat, touch-up paint pens can be used to fill in these gaps.
- SYOAUTO Black Touch Up Paint: This easy-to-use pen is perfect for black vehicles, sealing up scratches to protect against rust. Find it here.
-
Sandpaper or Abrasive Pads
For deeper scratches, sanding may be necessary to level the surface before polishing.
- 3M Scratch and Scuff Removal Kit: This useful kit includes a fine abrasive pad and rubbing compounds to eliminate light scratches and marks. Explore the kit here.
-
Protective Wax or Sealant
Once the scratches have been repaired, applying a wax or sealant helps protect the paint job and enhances shine.
- Turtle Wax 50935 Scratch Repair and Renew: This product not only repairs scratches but also seals the paint, providing a durable layer of protection. Check it out here.
Practical Tips
Before starting the scratch removal process, make sure to clean the area around the scratch thoroughly to avoid adding more debris into the scratch. Always read the manufacturer’s instructions on products to ensure you achieve the best possible results. With these tools, you’re well-equipped to tackle scratches and maintain your truck’s exterior appearance.
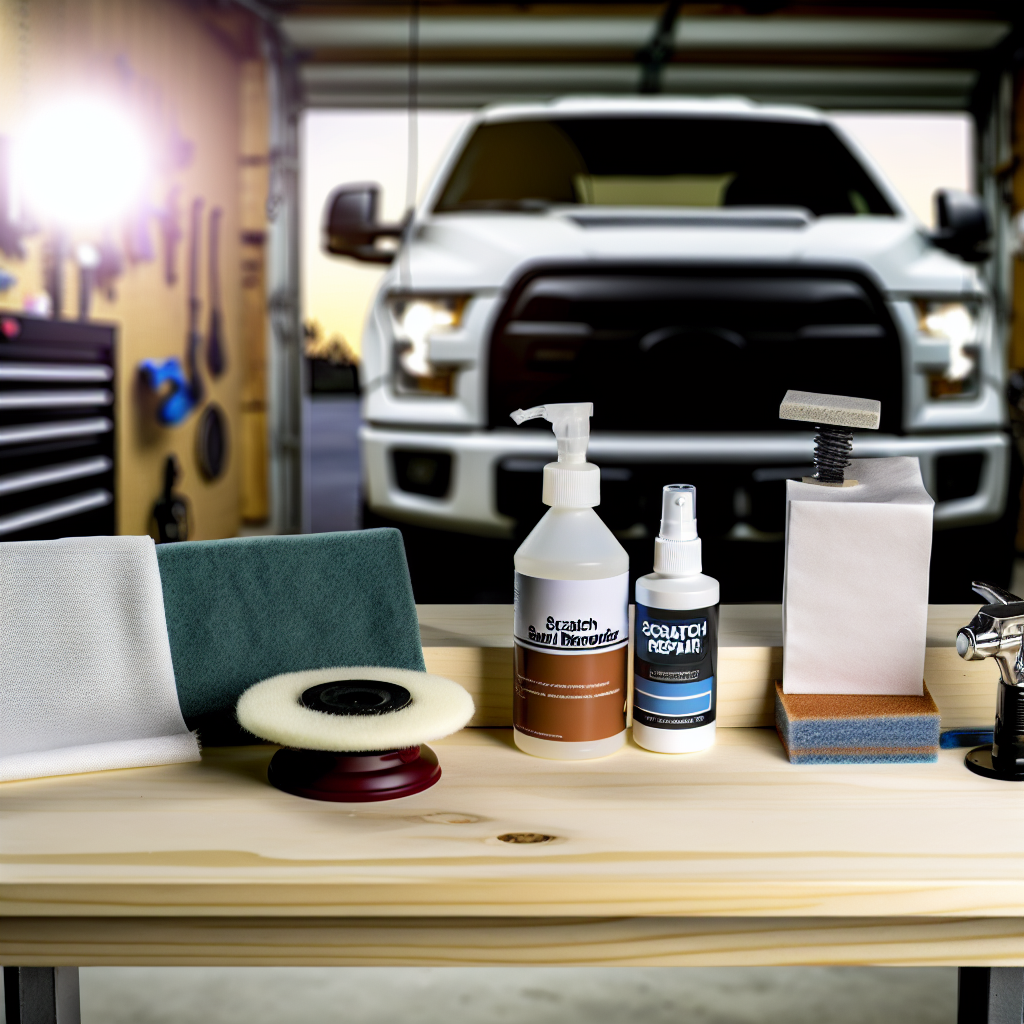
Visual representation of essential tools for DIY scratch removal including a microfiber cloth, polishing pad, and various scratch repair products.
Wet-Sanding Process
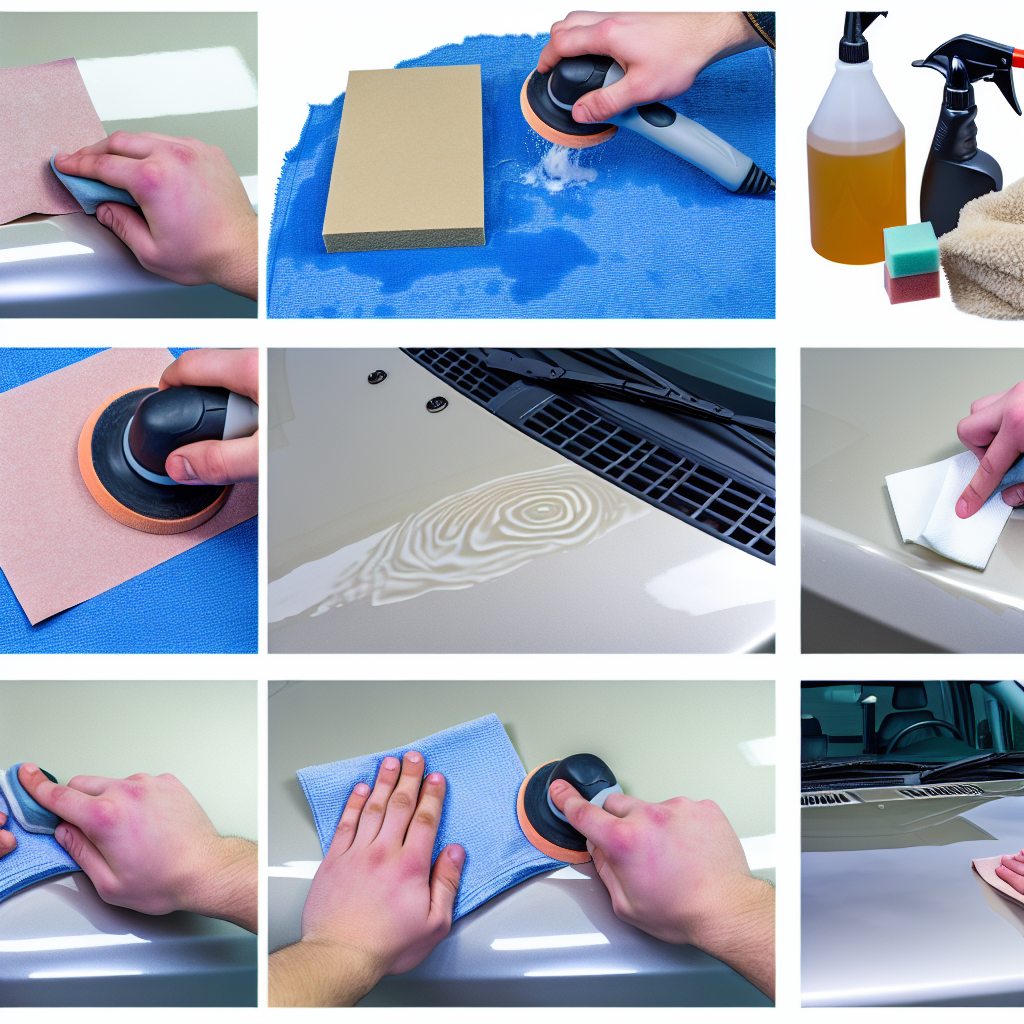
Visual representation of each step involved in the wet-sanding process for scratch removal on a truck, including assessing scratches, gathering materials, preparation, sanding technique, polishing, and applying protection.
Dry-Sanding Process
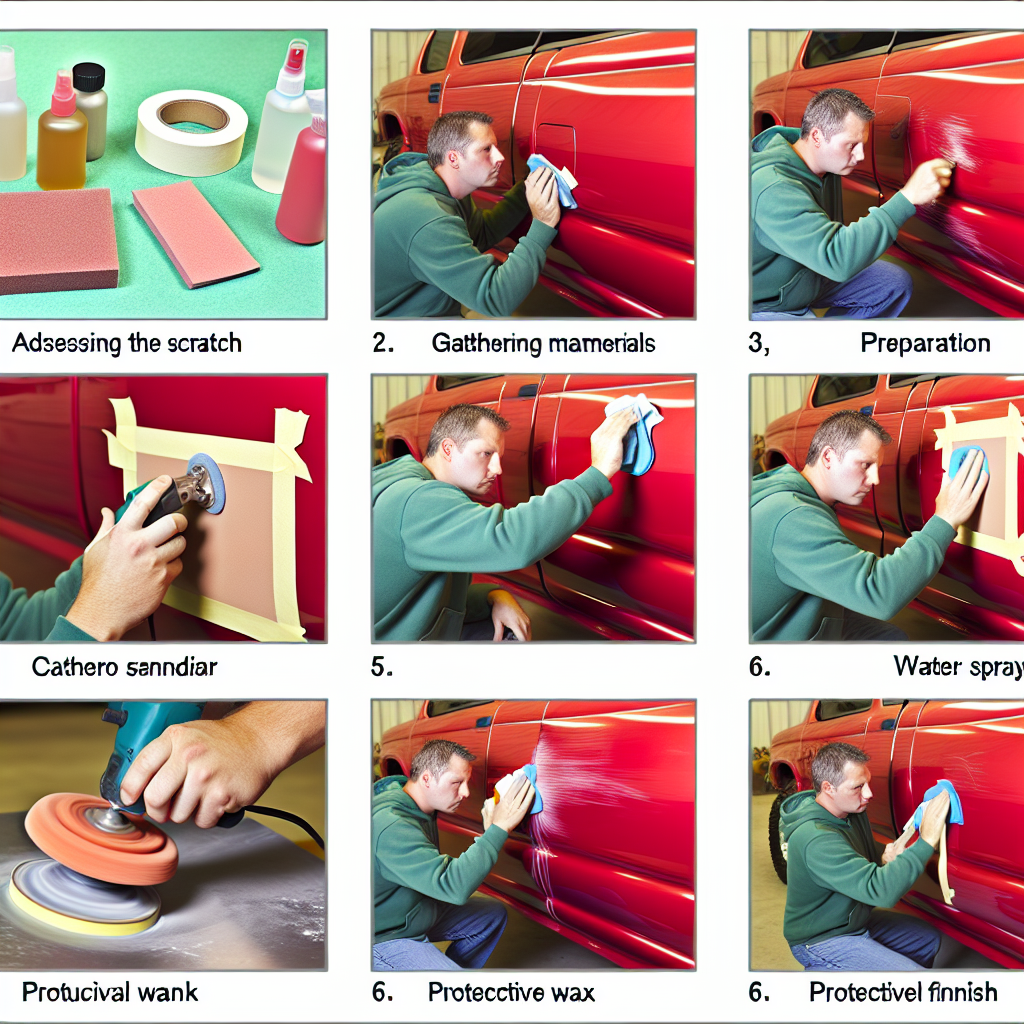
Visual representation of each step involved in the dry-sanding process for scratch removal on a truck, illustrating assessing scratches, gathering materials, preparation, sanding technique, polishing, and applying protection.
| Product Name | Price ($) | Effectiveness | User Ratings |
|---|---|---|---|
| G3 Scratch Remover Paste | 10-15 | Effective for minor scratches; works well on deeper defects | 4.2/5 (based on 127 reviews) |
| Meguiar’s Ultimate Compound | 10-15 | Removes oxidation, scratches, and blemishes without scratching | Highly rated for versatility |
| Meguiar’s ScratchX | 10 | Good for isolated scratches and blemishes | Generally positive feedback |
| Meguiar’s SwirlX | 10 | Targeted towards swirl marks and light scratches | Positive for improving paint finish |
| Meguiar’s Scratch Eraser Kit | 20-25 | Effective on deeper scratches; user-friendly kit with drill attachment | Praised for comprehensive approach |
Troubleshooting Common Problems During DIY Scratch Removal
When attempting DIY scratch removal on trucks, enthusiasts often encounter several common issues. Understanding these pitfalls and their solutions can lead to more effective repairs and prevent further damage.
-
Misjudging Scratch Depth
Problem: Incorrectly assessing the depth of a scratch can lead to ineffective repairs. Shallow scratches may be treated with simple polishing, while deeper ones require more intensive methods.
Solution: Carefully inspect the scratch under good lighting. Run your fingernail across it; if your nail catches, the scratch is likely deep and may need professional attention. For minor scratches, gentle polishing can suffice.
-
Inadequate Surface Preparation
Problem: Failing to properly clean and prepare the scratched area can result in poor adhesion of repair materials and subpar results.
Solution: Thoroughly wash the area with automotive soap and water, ensuring all dirt and debris are removed. For stubborn contaminants, consider using a clay bar. After cleaning, dry the area completely before proceeding with repairs.
-
Using Incorrect or Abrasive Products
Problem: Employing household items like toothpaste or Magic Erasers can cause additional damage to the vehicle’s paint.
Solution: Avoid using household abrasives. Instead, opt for products specifically designed for automotive paint repair. These are formulated to be effective without harming the vehicle’s finish.
-
Over-Sanding or Over-Polishing
Problem: Excessive sanding or polishing can remove too much of the clear coat, leading to uneven surfaces and potential exposure of the underlying paint or metal.
Solution: Use fine-grit sandpaper (e.g., 320-grit) and apply light pressure, sanding only until the scratch is smoothed out. Always sand in the direction of the scratch to prevent additional marks. After sanding, clean the area before applying touch-up paint or clear coat.
-
Skipping Test Applications
Problem: Applying a new product directly to the damaged area without testing can lead to unexpected results, such as discoloration or further damage.
Solution: Before full application, test the product on a small, inconspicuous area to ensure it reacts well with your vehicle’s paint. This precaution helps prevent unintended damage.
-
Rushing the Process
Problem: Impatience can lead to skipping essential steps or not allowing adequate drying times, resulting in a less durable or aesthetically pleasing repair.
Solution: Follow all manufacturer instructions carefully, allowing sufficient time for each step, including drying and curing periods. Patience ensures a more professional-looking and long-lasting repair.
By being aware of these common issues and adhering to the recommended solutions, DIY enthusiasts can achieve more successful scratch repairs on their trucks.
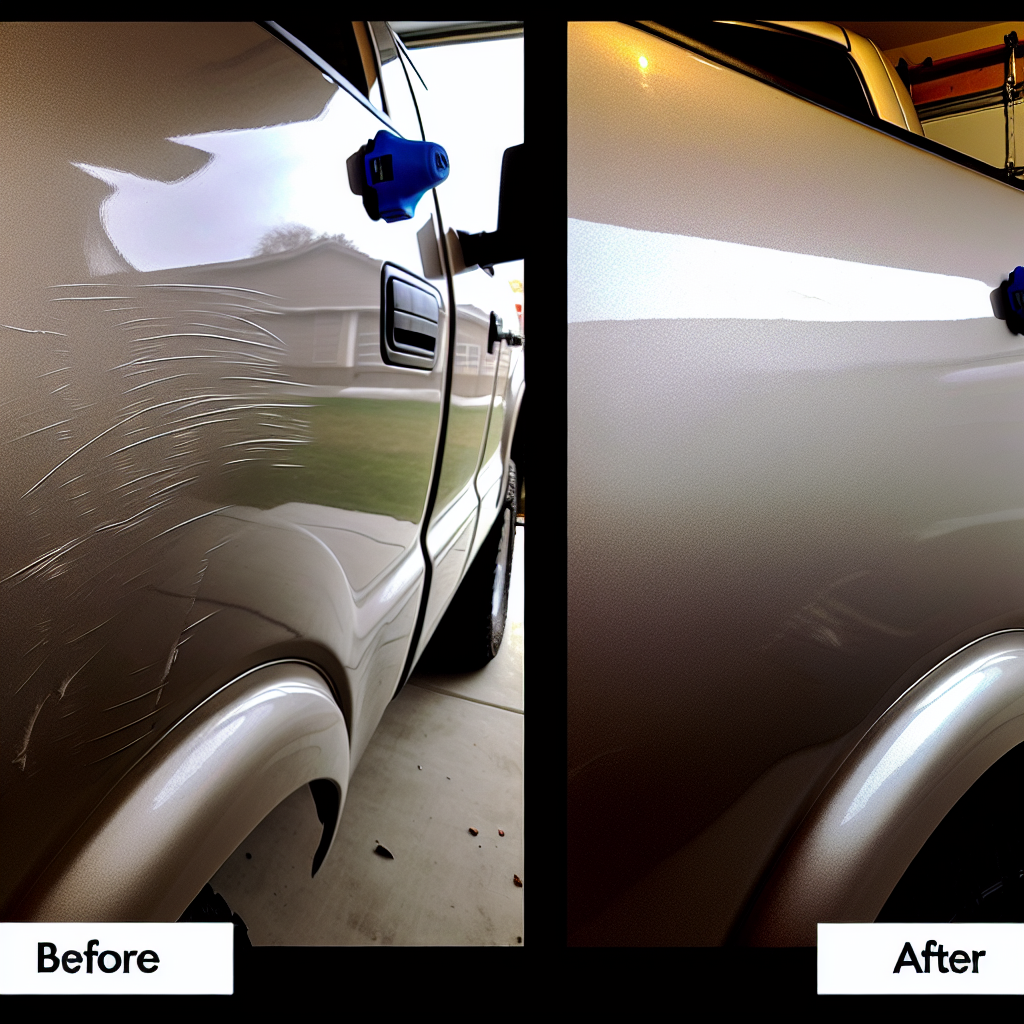
Visual representation showing the before and after effects of DIY scratch removal on a truck, illustrating the improved appearance after repair.
Conclusion
In conclusion, the methods for DIY scratch removal discussed in this article can provide truck owners not only a chance to enhance the appearance of their vehicles but also significant cost savings. With professional scratch repair services often costing hundreds to thousands of dollars, opting for DIY techniques can save you between $100 to $500 per repair. Furthermore, utilizing scratch remover products like Meguiar’s Ultimate Compound, G3 Scratch Remover Products, and others are effective and easy to use, making it possible for anyone to achieve professional-looking results at home.
Moreover, the sense of accomplishment that comes from successfully repairing scratches on your truck cannot be underestimated. Engaging in DIY scratch removal empowers you to take charge of your vehicle’s maintenance while saving money at the same time. We encourage you to gather the right tools, like those for paint protection, follow the outlined steps carefully, and start your DIY journey. Your truck—and your wallet—will thank you for it!
Tools Needed for Effective DIY Scratch Removal
Removing scratches from your truck requires the right tools to ensure the job is done efficiently and effectively. Here’s a list of essential tools along with their descriptions and purchase recommendations:
- Scratch Removal Compounds
Scratch removal compounds are abrasive materials that help polish out scratches from the surface layer of the vehicle’s paint.- Meguiar’s Ultimate Compound: This professional-grade compound is known for its effectiveness in removing scratches, swirls, and oxidation. It’s safe for all paint types and can be applied by hand or with a machine. Check it out here.
- Polishing Pads
Polishing pads enhance the application of scratch removal compounds and help achieve an even finish.- Meguiar’s Quik Scratch Eraser Kit: This user-friendly kit includes a drill-mounted pad for applying the ScratchX 2.0 compound, making it great for erasing fine scratches. Buy the kit here.
- Microfiber Cloths
Soft, lint-free microfiber cloths are essential for buffing and wiping down areas without scratching the surface further.- Meguiar’s Microfiber Towels: Designed specifically for automotive applications, these towels efficiently remove product residue and leave a polished finish.
- Touch-Up Paint Pens
For deeper scratches that reveal the bare metal or base coat, touch-up paint pens can be used to fill in these gaps.- SYOAUTO Black Touch Up Paint: This easy-to-use pen is perfect for black vehicles, sealing up scratches to protect against rust. Find it here.
- Sandpaper or Abrasive Pads
For deeper scratches, sanding may be necessary to level the surface before polishing.- 3M Scratch and Scuff Removal Kit: This useful kit includes a fine abrasive pad and rubbing compounds to eliminate light scratches and marks. Explore the kit here.
- Protective Wax or Sealant
Once the scratches have been repaired, applying a wax or sealant helps protect the paint job and enhances shine.- Turtle Wax 50935 Scratch Repair and Renew: This product not only repairs scratches but also seals the paint, providing a durable layer of protection. Check it out here.
Practical Tips
Before starting the scratch removal process, make sure to clean the area around the scratch thoroughly to avoid adding more debris into the scratch. Always read the manufacturer’s instructions on products to ensure you achieve the best possible results. With these tools, you’re well-equipped to tackle scratches and maintain your truck’s exterior appearance.
Expert Insights on DIY Scratch Removal Techniques
In the world of DIY scratch removal, expert opinions provide significant guidance to ensure effective methods and results. Here are some notable quotes and insights that underscore the best practices:
- On Paint Fragility: “The more paint there is on the car, the more fragile that paint is.” This highlights the importance of treating automotive paint with care during the scratch removal process, as even minor abrasions can lead to further issues if not handled properly.
- Sanding Techniques: According to experts, when sanding out scratches, “pressure matters just as much as technique.” The general consensus is that light pressure is crucial. “Very light rubbing is all that is necessary to prevent causing more scratches,” ensuring that only the scratched area is addressed without risking additional damage to the surrounding paint.
- Wet-Sanding Recommendations: Utilizing wet sanding over dry sanding is preferred to minimize damage. It allows for more precise control, resulting in a smoother finish. “Careful sanding with optimal grit levels helps in refining imperfections without over-penetrating the paint surface.”
- Effectiveness of DIY Products: According to a review by Automoblog, DIY scratch removers “are designed to resurface the top layer of clear coat and are effective for minor scratches.” However, they remind users that deeper scratches, particularly those that penetrate beyond the clear coat, often require professional attention.
- Limitations and Cautions: A report from Car and Driver indicates that these products are suitable for light, minor scratches and cautions that for deeper scratches, professional help is necessary. The importance of following product instructions cannot be understated, as improper application can lead to further damage.
For additional insights and techniques, check out this credible source on DIY scratch removal techniques.
These insights collectively emphasize the importance of technique, careful product application, and when to seek professional help. By being informed and cautious, DIY enthusiasts can confidently tackle scratch removal, potentially saving both time and money while maintaining the integrity of their vehicle’s appearance.
When it comes to DIY scratch removal, being aware of common pitfalls can significantly enhance your experience and results. You have learned how crucial it is to accurately assess scratch depth, prepare surfaces meticulously, and use the right products. Each of these troubleshooting steps not only prevents damage but also maximizes the effectiveness of your repairs. By taking the time to follow these guidelines, you empower yourself to achieve stunning results. The skills and confidence you gain through tackling these imperfections will not only safeguard your truck’s appearance but also enhance your satisfaction with being a DIY enthusiast. With the right tools and knowledge at your disposal, you are well-equipped to maintain your vehicle’s exterior and safeguard its value. This commitment to DIY scratch removal not only leads to beautiful results but also fosters a sense of accomplishment that comes with caring for your truck yourself.
Ultimately, the methods for DIY scratch removal discussed in this article can provide truck owners not only a chance to enhance the appearance of their vehicles but also significant cost savings. With professional scratch repair services often costing hundreds to thousands of dollars, opting for DIY techniques can save you between $100 to $500 per repair. Products like Meguiar’s Ultimate Compound and G3 Scratch Remover Paste are effective and easy to use, making it possible for anyone to achieve professional-looking results at home.
Moreover, the sense of accomplishment that comes from successfully repairing scratches on your truck cannot be underestimated. Engaging in DIY scratch removal empowers you to take charge of your vehicle’s maintenance while saving money at the same time. We encourage you to gather the right tools, follow the outlined steps carefully, and start your DIY journey. Your truck—and your wallet—will thank you for it!