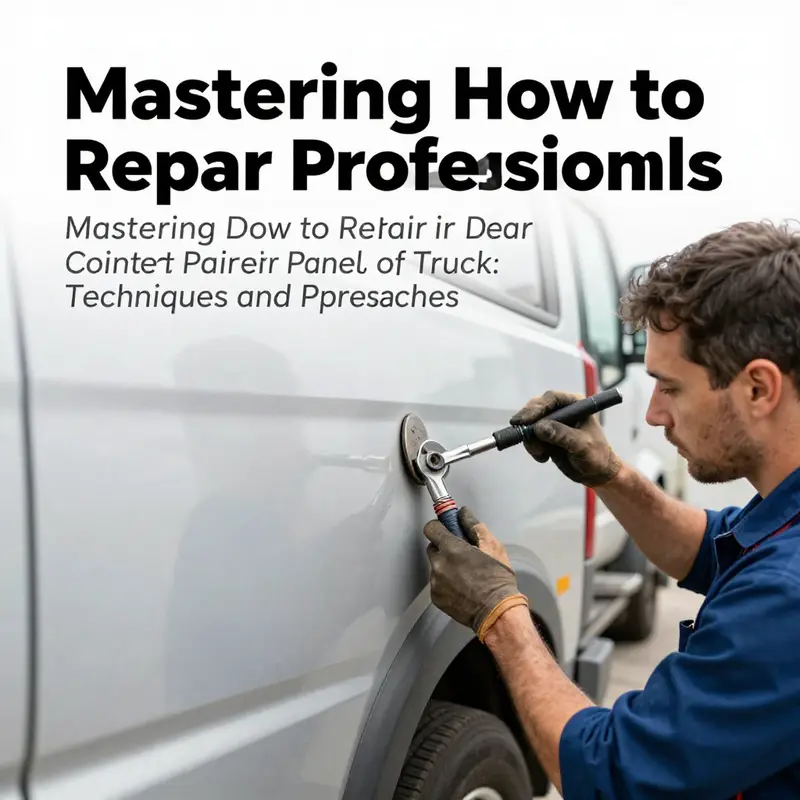
Dent repair for trucking companies is not merely about aesthetics; it is a critical element in maintaining fleet integrity and maximizing operational efficiency. A well-maintained truck fleet reflects professionalism and dedication to quality, aspects vital for any logistics, construction, or mining enterprise. This article explores effective methods for repairing dents in the rear quarter panels of trucks, focusing on four integral chapters. The first chapter delves into various repair techniques, while the second emphasizes the importance of material assessment. The third chapter evaluates cost efficiencies between DIY and professional services, and the final chapter identifies common mistakes in dent repair along with strategies for avoidance. Together, these insights equip fleet managers and owners with the knowledge needed to ensure their vehicles remain in prime condition, facilitating uninterrupted operations.
null
null
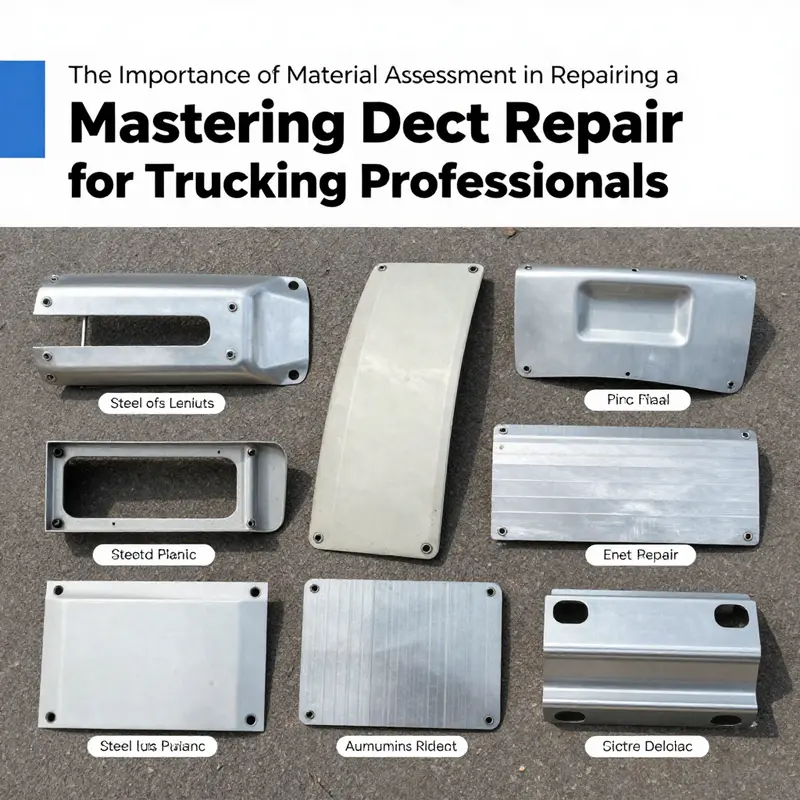
Material Matters: How a Thorough Assessment of Rear Quarter Panel Dents Shapes Safe, Lasting Truck Repairs
The rear quarter panel of a truck bears a unique mix of stress from road debris, payload shifts, and occasional collisions. Because this area vibes with both cosmetic and structural implications, the repair decision hinges on something deceptively simple: what is the material doing, and how far has the dent altered its shape and strength? A sound repair starts not with a tool but with an informed assessment of the panel’s material properties, the dent’s depth, and any adjacent damage. In the garage, shop, or roadside, that assessment becomes the compass guiding every subsequent choice, from the most conservative paintless approach to the traditional, metal-saving method that involves hammer, dolly, and sometimes a heat gun. When you understand the material, you understand the limits of repair, and you protect the truck’s resale value, structural integrity, and long-term appearance. This chapter dives into the art and discipline of material assessment, showing how a careful first reading of the dent sets the stage for outcomes that look factory-finished and hold up over time.
The very first step in any dent repair is a thorough assessment under bright, clear light. The eye must decide whether the issue is purely cosmetic or if the impact compromised the metal’s alignment or the panel’s stiffness. Visual examination looks for creases, cracks, or any stretching of the metal that would indicate deeper failure. A tactile scan follows, where the technician runs a gloved finger or a tool along the surface to detect high spots, ripples, or a roughness texture that a flat surface might hide. This dual approach—seeing with the eyes and feeling with the hands—helps determine whether the panel is merely deformed or if the metal has been stretched beyond its elastic limit. The rear quarter, with its contours and sometimes limited access, demands patience; the dent may be shallow at the edge and much deeper near a seam, repeating a pattern of damage that complicates the return to true form. In some cases, this initial scan reveals that the paint remains intact, the surface is free of cracks, and the metal has not yielded beyond its ability to spring back. In others, a superficial look hides a more complex issue behind the scenes, where the metal has work-hardened, stretched, or even cracked the color coat. Either outcome matters, because it decides whether a noninvasive technique will suffice or if a more robust, traditional repair is required.
To those who repair every dent with the same mindset, the rear quarter panel can look like a simple sheet of metal. Yet the truth is more nuanced: truck panels come in a variety of materials, from traditional steel to aluminum or even plastics in certain late-model designs. Steel tends to be strong but can be prone to stretching when struck with force, especially if the impact is sharp or the dent sits near a bend line or seam. Aluminum is lighter and more malleable in some cases, but it can respond unpredictably to heat and hammering, sometimes setting with a spring-back that leaves a subtle memory of the impact. Plastic or thermoplastic sections, while not as common in older trucks, are more forgiving of minor hits but can warp if heated too aggressively. Each material carries a distinct set of physical properties—elastic limit, work hardening rate, and thermal behavior—that define how a dent can be repaired without introducing new problems. The assessment, therefore, must identify the panel material as part of the diagnostic picture. A visual check may suggest steel or aluminum by weight and finish, but the tactile check—how the surface feels when you move along the contour—often confirms the material type and its condition. If you note a sharp crease that doesn’t spring back and there is paint damage, your diagnosis shifts toward a repair strategy that guards against further cracking and color mismatch.
The assessment also screens for paint-related issues that would negate some “no-paint” approaches. When the paint has cracked or chipped, or when the underlying metal has been stretched enough to cause a ripple beneath the clear coat, paintless dent repair (PDR) may not be appropriate. PDR relies on the paint being pristine and the metal returning to its original form without the need for filler or repainting. A dent that has cracked paint or shows deep stretch marks will typically respond poorly to PDR, because the underlying substrate is compromised in a way that cannot be masked by mere pushing or pulling from behind the panel. This early determination—paint integrity and metal condition—saves time and prevents trying a method that won’t last. It also keeps the repair from becoming a stopgap, a cosmetic fix that invites later failures when the sun, heat, or cold cause the compromised paint to peel and the dent to reappear through the finish.
As the assessment deepens, technicians often consider a spectrum of repair techniques, each tuned to the material’s behavior under stress. If the metal has not stretched and remains within its elastic limit, hammer-and-dolly work can be an effective path back to the original contour. The hammer is used to strike the low spots, the dolly provides a back-support to prevent the metal from wrinkling as it moves back toward shape. This is a dance of control: each strike must be measured to coax the metal back without introducing new distortions. When performed with care, this technique can restore the panel’s crown and smooth out ripple effects while preserving the original paint. It’s in these moments that the hammer and dolly pair demonstrates why a material-aware approach matters. The goal is to coax the metal to its natural shape, not to reshape it into a new one. It is a principle that echoes the old carpenter’s wisdom: metal should be guided back toward its original form, not hidden with filler that merely covers the surface problem.
But when the assessment reveals that the metal has been stretched or when a crease is too deep, shrinking becomes necessary. Heat shrinking is a controlled process that uses heat to contract the metal, reducing the overstretched areas and allowing the panel to regain the intended geometry. The trick here is moderation. Too much heat can soften or warp the metal beyond its intended shape, while too little heat may fail to correct the stretch. Skilled technicians watch the metal as it responds to heat, adjusting the temperature and duration to avoid scorching, thinning, or changing the alloy’s microstructure. In this delicate work, the rule of thumb remains simple: the goal is to return the metal to its original form while preserving its strength. Shrinking is not about removing material; it is about reclaiming the metal’s natural curvature so the panel can support the finish that sits atop it. In practice, shrinking often happens in tandem with hammering, as the reshaped metal may leave new high spots that require subsequent smoothing. The synthesis of these steps—assessing, hammering, and shrinking—highlights how a material-first approach can yield a repair that stands up to the next rock chip and the next winter road salt cycle.
If the dent sits on a plastic or highly flexible panel, the repair logic shifts again. Plastics gain their pliability with heat, so the heat-and-pull method is a common choice. In this approach, the plastic around the dent is warmed to soften the material, after which an electric puller or suction device is placed over the dent to coax it outward. Gentle pressure is held while the area cools, allowing the plastic to settle into a new shape. This cooling step is critical, because it helps set the material and prevent shrinkage that would pull the dent back. The process requires a light touch; excessive heat can melt or deform the surrounding area, creating new problems that are harder to fix than the dent itself. The principle remains consistent: heat makes the material malleable, and careful pulling returns the panel closer to its original geometry without sacrificing the surface’s integrity.
These material-driven decisions do not exist in a vacuum. They are tempered by practical limits and by the realities of shop work. A dent near a seam or edge carries a higher risk of cracking or paint separation, and it frequently benefits from a more conservative approach or a traditional repair pathway. This is where the initial assessment becomes the true decision-maker. If the dent is deep, or if the paint is damaged or peeling near the edge, the safest course is often to step away from a purely cosmetic fix and pursue conventional repair that may involve metal reforming, patching, and color-matched refinishing. In such cases, the goal is not merely to fill a hole and paint over it; it is to restore structural contiguity and to reestablish a surface that will endure. As a rule, professionals consider a hybrid approach when the panel’s base metal needs repair but the finish remains salvageable with minimal repainting. A blended approach can preserve factory paint where it is sound, while using traditional repair to address the areas that demand it.
The risks of failing to perform a careful material assessment are real. If a technician relies solely on filler to hide faults, problems are likely to surface later. Filler’s job is to fill, not to reinforce, and it cannot compensate for an underlying misalignment or a stretched metal that will continue to move with temperature changes and time. The result can be cracking, poor adhesion, and eventual paint failure. This is why the old maxim—metal should be returned to its original form, not merely covered—still holds true in modern repair practice. It’s a reminder that the most durable solutions begin with realignment of the metal, not a quick glaze over the surface.
The practical upshot of this material-centric approach is straightforward. For most rear quarter panel dents on trucks, if the damage is shallow and the paint shows no signs of cracking, paintless dent repair remains the less invasive, cost-effective option. It preserves factory paint and typically completes in under an hour. If the dent is deep, has paint damage, or is near an edge or seam, a traditional repair or a hybrid strategy offers a better long-term outcome. The decision, of course, should be guided by a professional assessment, ideally with a shop that can provide a precise quote and a warranty on the workmanship. A reliable shop will not rush to paint a dent that will reappear in months; instead, it will balance metal realignment with careful refinishing to create a seamless, durable result.
For readers seeking further practical context and examples, the Master Truck Repair blog offers accessible insights into dent repair logic and workflow. Deepen your understanding by visiting the blog and exploring how technicians articulate the same material-centered principles in real-world scenarios. Master Truck Repair blog.
In all cases, the guiding principle remains consistent: identify the material, test its response to force and heat, and choose a path that restores or preserves the metal’s original form as the backbone of the repair. This approach not only delivers a smoother cosmetic result but also guards the structural and mechanical integrity of the panel, ensuring the repair stands up to the rigors of daily use. As technicians like Carlos Mendez remind us, the metal’s integrity comes first. In his words, “Metal should be returned to its original form—not covered up. Filler is glue, not steel.” This emphasis on metal realignment over excessive filler anchors the discipline of dent repair in sound engineering practice and long-term durability. The consequence is a repair that looks right, feels solid, and carries the reassurance of a job done with respect for the material and its history.
For readers who want to trace the techniques and training that underpin these decisions, industry resources outline standardized approaches to dent repair across different panel types and materials. These resources consolidate the science of material behavior with the craft of hands-on repair, helping technicians refine their judgment about when to push metal back into shape and when to seek refinishing as the safer option. The result is a repair that not only fixes the dent but also preserves the vehicle’s value and reliability. To explore further, refer to broader technical guides that discuss the range of techniques used to restore truck quarter panels and the criteria that separate a PDR-safe scenario from a case requiring more invasive work. External references provide deeper technical detail on the methods described here and illustrate how these principles translate into consistent, high-quality outcomes.
External resource: https://www.autobodyrepair.com/techniques-for-repairing-truck-quarter-panel-dents/
When Steel Bends: A Strategic Look at Cost-Effective Repairs for a Truck’s Rear Quarter Panel
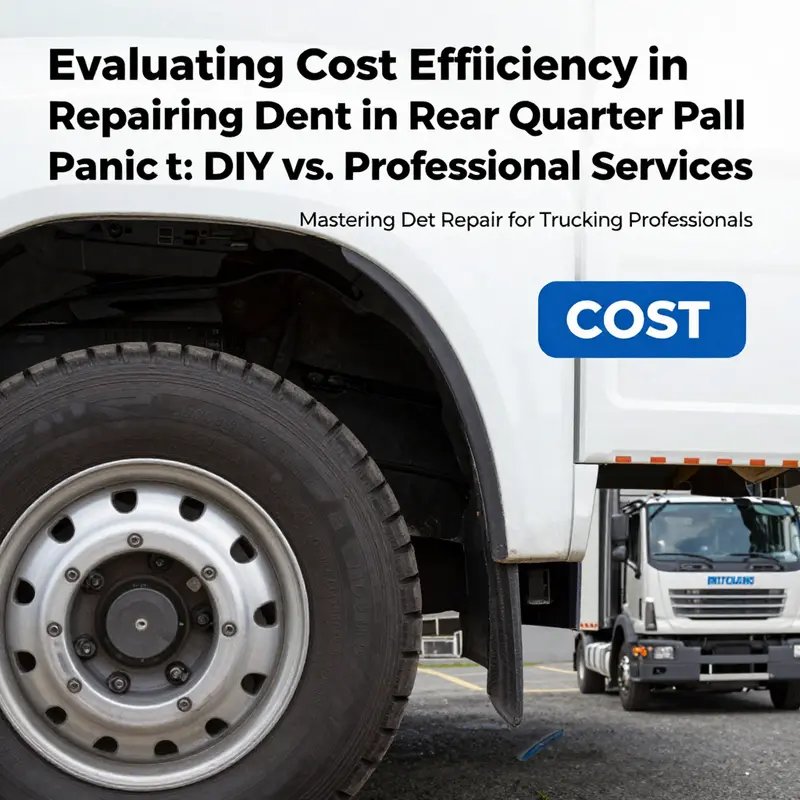
A dent on the rear quarter panel of a pickup is more than a cosmetic blemish. It’s a test of materials, access, and the willingness to invest in a repair that preserves value and function. The rear quarter panel sits along the edge of the bed, near taillights, and often near underlying structural elements. The panel itself can be steel, aluminum, or a plastic-impacted composite in some modern designs, and the way it responds to force depends on that makeup. The decision to repair, and how to repair, hinges on a practical balancing act between immediate cost, long-term durability, and the likelihood of returning the panel to its original contour. This chapter threads together the logic behind choosing DIY methods versus professional services, with a focus on cost efficiency and real-world constraints that truck owners regularly encounter on the road or in the shop bay. The goal is not to push toward a single method but to illuminate how the dent’s characteristics shape the price tag and the expected outcome, so a reader can move from recognition of damage to a reasoned plan.
First, it helps to ground the discussion in the simplest truth: small, shallow dents with intact paint are the best candidates for DIY or low-cost restoration, while deeper creases, edge damage, or paint cracking point toward professional intervention. A chalk-forward rule of thumb emerges when you balance the potential for saving money against the risk of creating more work. Minor dents without paint damage can sometimes be coaxed back into shape using techniques that require little more than careful pressure and a touch of ingenuity. The plunger method, highlighted in layman repair circles, is a quintessential example. It relies on a household cup plunger, water, and a patient approach to leverage the surface. The principle is straightforward: when a metal surface is not stretched or fatigued, a vacuum seal and axial pressure can encourage the metal to revert toward its original curvature. For a rear quarter panel on a truck, this approach works best on flat, broad areas where the dent does not occupy a seam or near an edge where the panel’s geometry can trap the force. The cost here is almost negligible, essentially limited to the value of a plunger (which many households already own) and perhaps a few minutes of time spent standing at the work surface. The practical advantage is clear: you preserve factory paint, avoid filler, and bypass the overhead costs that commercial shops incur for labor, facilities, and color matching.
Yet the reality is seldom so tidy. Real-world dents rarely sit in pristine, flat zones far from body lines. Rear quarter panels, especially on trucks, frequently present a mosaic of curves, radii, and edges. A dent that stretches near a seam or edge introduces the risk of creating a crease or causing the metal to work-harden in a way that resists simple pushing. When paint is cracked, chipped, or there is a visible bubble of primer nudging toward a blister, any attempt at a playful, DIY push risks spreading the damage rather than smoothing it. The paint acts like a brittle shell under tension; when that shell is compromised, you’re not just dealing with the metal but with the paint’s adhesion and the possibility of corrosion beneath the surface. In such cases, the cost calculus shifts quickly. A professional repair—often including traditional metalworking, paint, and finishing steps—becomes the prudent path because it treats the dent as a symptom of deeper misalignment rather than a surface anomaly.
The materials question adds another layer of nuance. If the panel is steel, the dent’s depth, hammering history, and any rust spots become critical to predicting repair cost and longevity. Aluminum panels react differently to reshaping; they bend more readily but can suffer from fatigue if heated too aggressively. Plastic or thermoplastic panels, common in some vehicle trims and certain truck components, respond to heat and plastic deformation rather than metal spring-back. For a panel that is plastic or flexural, a heat-and-pull method—warming the dented area to soften the polymer, then applying a controlled pull with suction or a pulling device—can yield a smooth result without cracking. The method relies on heat to increase pliability and then rapid cooling to set the new shape. The caveat here is control: excessive heat can soften too much and invite sagging or deformation elsewhere on the panel. The rule of moderate heat holds true here as well, serving as a reminder that even seemingly simple DIY paths carry a learning curve that can affect final results and, critically, the value of the repair.
When we move beyond the simplest cases, the cost dynamics grow more complex. A traditional body repair—whether done in a shop or at a dealership—approaches the dent by restoring the metal’s original contour with skilled hands and precise tools. The steps may include removing paint and rust in the damaged area, reforming or replacing the metal, possibly welding a patch if there is a hole, applying body filler to achieve a uniform surface, and finally priming, color-matching, and clear-coating to achieve a factory-like finish. This sequence is labor-intensive and requires specialized equipment, including high-quality paint mixing and curing environments. The price reflects both the premium for skilled labor and the overhead of maintaining a paint booth and color-matching system that ensures durability and a seamless aesthetic integration with the rest of the panel and vehicle. It is not hyperbole to say that the value of relying on professionals increases when the dent cuts into the character line, curves around a fender edge, or encroaches on mounting points. In such scenarios, the risk of a poor repair—whether through misaligned curvature, misfitting patches, or mismatched coloration—can lead to ongoing dissatisfaction and future costs.
To navigate this landscape, a practical decision framework emerges. It starts with a careful inspection of the dent itself. Is the paint intact? If yes, what is the dent’s depth and radius? Does it follow a shallow, broad curve or a narrow, sharp crease? Is it sitting away from seams, edges, or mounting points, where misalignment is more likely if forced back into place? If the paint is unbroken and the dent is shallow, PDR becomes a compelling option. PDR is typically compatible with steel or aluminum panels that have not endured cracks or stretch-induced distortions. A trained technician can access the back side of the panel or work through small access holes to massage the metal back toward its original shape. The result is often rapid, typically under a day, and it preserves the factory finish with no paint touch-up required. The cost is generally a fraction of traditional bodywork, with savings that compound over time when the repair holds up well and does not require repainting.
If the dent sits on a plastic or thermoplastic panel, or if the surface shows a level of pliability that suggests heat can reflow the material without risk of cracks, the heat-and-pull approach deserves consideration. This method is not a universal cure, but in the right circumstances it can restore form with minimal material removal and without the complexity of a full repaint. The emphasis, again, is on controlled heat—enough to soften but not melt—followed by a gentle, structured pull that directs the panel back to its intended contour. When done correctly, this method can deliver a cost-efficient fix that preserves structural integrity and aesthetic finish. The caveat remains: if the dent is near a curved edge or deeply set, the risk of warping or leaving a visible irregularity rises, and the benefits of DIY give way to professional assessment.
For more severe damage, or when paint integrity is compromised, the traditional repair pathway becomes prudent. The conventional route aims to restore the metal to its original geometry, then rebuild the surface with filler and plastering, followed by priming, color matching, and the clear-coat that integrates with the rest of the vehicle. This path is more costly and time-consuming, but it reduces the likelihood of future issues such as rust or cracking paint that could undermine the repair’s long-term durability. A key insight from professional practice is that successful dent repair begins with metal realignment, not masking imperfections with filler. When technicians invest in first restoring the panel’s true shape, subsequent filler work becomes more predictable and the final paint finish more durable. The result is not merely a cosmetic fix but a structural and aesthetic restoration that holds up under the demands of daily use, environmental exposure, and the occasional heavy loading that a truck routinely faces.
This cost-conscious approach to dent repair also hinges on expectations and the value you assign to time and risk. DIY methods, including the plunger technique, invite a near-zero material cost and an immediate sense of control. They can satisfy a quick, small fix and keep a dent from looking conspicuous in daily driving, especially if the owner values the visual symmetry of the truck’s rear quarters. But DIY has its limits. If you misjudge the dent’s depth, misalign the pull, or force the panel too aggressively, you may create a ripple effect or a new crease that increases the eventual repair cost. The risk of complicating the job—particularly when you must later hire a pro to fix an initial misstep—can erode any initial savings and extend downtime away from work or use. That is the subtle trade-off at the heart of cost efficiency: the shortest path to an acceptable result today may not be the most economical path over the life of the vehicle if it invites repeat visits to the shop.
To translate these considerations into actionable budgeting, owners should begin with a transparent estimate of the damage type and the repair philosophy. If paint is entirely intact and the dent is shallow, the DIY route or a low-cost PDR option becomes viable. It is essential to avoid overconfidence, however. The line between a quick fix and a temporary patch is thin, and the vehicle owner’s goal should be a durable restoration rather than a cosmetic disguise that might fail under weather or impact. When paint damage is present, when the dent shows a pronounced crease, or when the damage sits near the edge of the panel or along a curved contour, a professional assessment is prudent. The professional path may be labeled as traditional repair or a hybrid approach—combining PDR for portions of the panel and targeted filler or light panel replacement to manage edges and lines. In many shops, this hybrid approach balances cost with quality, avoiding unnecessary replacement while ensuring a smooth, color-matched finish.
From a cost perspective, the spectrum is broad. DIY plunger repairs can be essentially free beyond the cost of time and potential aggravation, which makes them appealing for owners who enjoy hands-on work and have the patience to learn. When the dent is modest and the paint is pristine, this can be an efficient use of a weekend. However, if the dent occupies a broad area or spans a curved horizon—particularly on a rear quarter panel where the eye lines are critical to the vehicle’s silhouette—the investment in professional expertise becomes more compelling. Conventional quotes often range into a few hundred dollars for straightforward cases, with higher figures for complex or gripping dents, extensive paint work, or labor-intensive refitting. The precise numbers depend on the shop’s regional market, the vehicle’s make and model, and the availability of skilled technicians who can deliver a factory-like finish. The important takeaway is that a cost calculation should account for both the immediate repair and the long-term appearance and protection of the panel. A dent left unrepaired or poorly repaired may invite rust or structural concerns that escalate costs down the line.
For readers who want to frame their decision within a practical budgeting mindset, there is value in tying the repair plan to a broader cost-conscious routine. A well-considered approach to maintenance and repairs includes setting expectations for future incidents, understanding that cosmetic injuries can recur or accumulate over time, and storing a small emergency fund to cover unplanned bodywork. This is where a site that emphasizes budgeting for routine truck maintenance can be a helpful reference. It can provide a realistic sense of how to allocate funds for unexpected repairs alongside scheduled upkeep. Budgeting for Routine Truck Maintenance offers a framework for thinking about maintenance costs in aggregate, ensuring you don’t skew your budget toward a single fix when other issues could emerge.
Ultimately, the choice between DIY and professional repair comes down to risk tolerance, time availability, and the present condition of the panel. If you are confident in your ability to assess the depth and surface condition of the dent, and if the paint remains intact with no cracks, a cautious DIY attempt can be a valuable learning experience and a cost saver. If you value a predictable outcome, if the dent is near a seam or edge, or if the paint has suffered even minor damage, the professional route—whether through traditional repair or a carefully managed hybrid approach—offers durability, better color matching, and a finish that will endure the rigors of road life and weather exposure. The most prudent path may even be a concise, no-obligation shop inspection. A reputable shop can provide an objective assessment, a no-obligation quote, and sometimes a warranty on the repair. This third option helps to close the loop between initial expectations and actual results, which is what makes a dent repair not only affordable in the moment but sound over time.
In closing, the rear quarter panel dent on a truck is not merely an isolated blemish; it is a signal about materials, geometry, and the economics of repair. The path you choose must align with the dent’s severity, the panel’s material and paint condition, and the value you place on a durable, factory-like finish versus a quicker, a priori cheaper fix. The plunger method can offer a surprisingly good outcome for simple cases, but it is not a universal cure. PDR, heat-and-pull, and traditional body repair each have their rightful place in a cost-effective repair strategy. The chapter’s practical takeaway is not a prescription but a decision framework: start by evaluating paint integrity and dent depth, consider the panel’s material type, weigh the risk of a DIY misstep, and then decide whether a low-cost professional evaluation could be the most economical choice over the long term. By anchoring the decision in an honest appraisal of damage and a clear plan for cost, truck owners can repair the rear quarter panel without compromising the vehicle’s value or reliability.
External resource:
https://www.mechanixworld.com/2025/12/effective-diy-methods-to-repair-a-dent-in-your-car-without-professional-help/
Dodging Pitfalls: A Practical Guide to Repairing Rear Quarter Panel Dents on Trucks
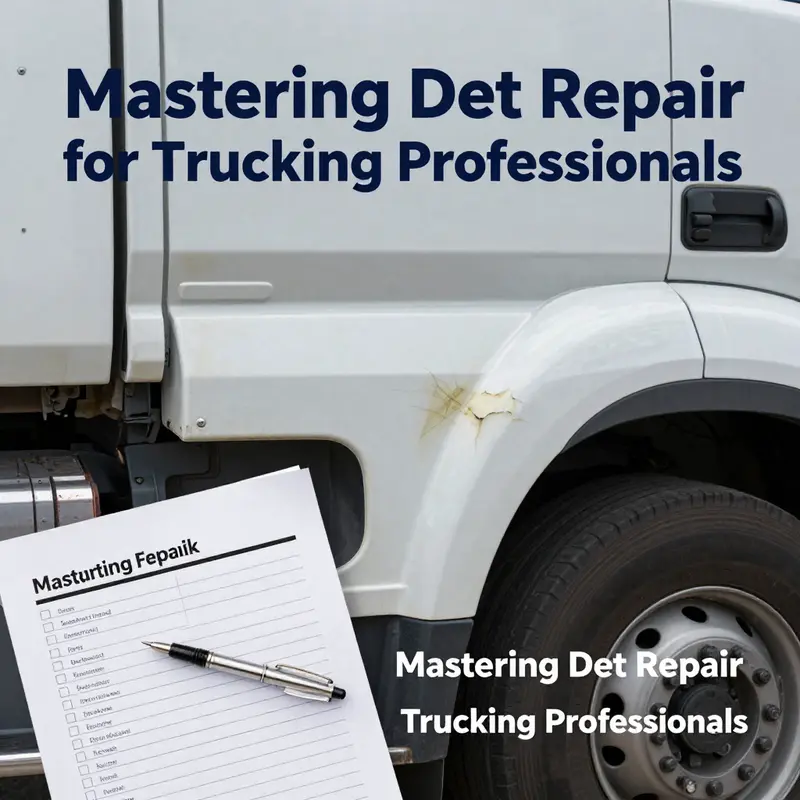
Repairing a dent in the rear quarter panel of a truck is a careful balance of judgment, technique, and respect for the panel’s material. The rear quarter often bears the brunt of daily driving, from tight parking spots to off-road brush, and understanding the physical realities of the panel helps you choose the right path. The best outcomes start with a clear assessment: how severe is the dent, is the paint intact, and what is the panel made of? Different materials—steel, aluminum, or plastic-backed composites—respond to pressure, heat, and tools in distinct ways. When the paint is unbroken and the dent is small to moderate, paintless dent repair (PDR) stands out as the cleanest option. PDR preserves the factory finish, minimizes the need for fillers, and can often be completed in a short visit, sometimes in under an hour. The technician works behind the panel with specialized tools to coax the metal back toward its original shape, and when successful, the panel looks untouched from the outside. This is especially true when the damage comes from hail or a shopping-cart misadventure, where the surface has a shallow, uniform crease rather than a sharp fold. The appeal of PDR lies in its efficiency and its promise of minimal intrusion into the vehicle’s original manufacturing condition. Yet PDR has its bounds. If the dent has stretched the metal, cracked the paint, created a crease near an edge, or penetrated into a double-layer structure, PDR alone will not suffice. In those cases, the repair path shifts toward approaches that involve reshaping, replacing, or re-finishing the affected skin. The materials involved matter profoundly here because plastic rear quarters or thermally sensitive plastics require a different tact than bare steel. A common misunderstanding is to assume that all dents respond to the same recipe; in practice, the repair plan must read the material like a map, recognizing where heat, pulling force, or metalworking steps will work without causing secondary damage. A thoughtful assessment is the first shield against wasteful attempts and costly mistakes. If a dent sits near a seam, a corner, or a structural joint, there is a real risk that tension from a pull or hammering could ripple into alignment problems elsewhere. In such cases, a professional evaluation becomes not just advisable but prudent. The next layer of decision-making involves what the dent is telling you about the panel’s interior condition. For instance, a stubborn dent can hide buckling beneath the surface, or a shadow in the paint can betray micro-cracks that only reveal themselves under certain lighting. When these signs appear, a simple surface pop is no longer satisfactory; the repair must address potential buckling, frame misalignment, or even rust development that could compromise long-term safety. The repair philosophy then shifts from “make it look right” to “make it structurally reliable and durable.” The logic of repair is anchored in a triad: preserve what is sound, correctly restore what is deformed, and ensure the finish will stand up to the next season of use. This triad guides every practical choice—from the selection of tools, to the method of heating, to the sequence of finishing steps. A common thread in successful repairs is the disciplined evaluation of panel construction. Not all rear quarters are identical; some are single-layer steel, some have insulation layers, and others are reinforced plastics designed to absorb impact differently. Recognizing the construction type informs the approach. For single-layer steel, traditional pulling with a dolly and hammer can be efficient when there is ample access and the metal remains elastic. For insulated or double-layer panels, access through drainage holes or the wheel-well area may be necessary, and the technique must accommodate the extra layers to avoid delamination or outside-in warping. Plastic or thermoplastic panels often respond best to controlled heat to soften the material before any pulling or reshaping is attempted. The heat must be used judiciously—enough to yield without melting—and followed by a measured cooling to set the new contour. It is in these nuanced decisions that the experience of a trained technician shines, because the margin for error widens with the complexity of the panel. The practical sequence for a deeper fold or a dent near an edge begins with a thorough surface prep. Cleanliness matters because adhesives and pullers rely on a clean, dry bonding surface to hold tension and pull the dent outward. Wax, grease, and dirt act as barriers, undermining adhesive strength and producing inconsistent results. A careful wipe-down with a degreaser, followed by a complete dry-out, helps ensure the tools can engage the dent without slipping or detaching prematurely. In addition to surface prep, the assessment of hidden damage is essential. The light of day can reveal not only surface irregularities but also subtle distortions that betray buckling or internal misalignment. A flashlight angled along the seam or a mirror used to peek behind the panel can uncover buckling, rust under paint, or a corroded backing layer that would worsen with aggressive manipulation. When hidden issues are detected, it is prudent to pause and consider a professional evaluation. The temptation to push ahead is strong, especially when the initial dent seems straightforward, but a misstep in this phase can lock in a misalignment that becomes far more costly to correct later. Another pitfall lies in the finishing phase. The last mile of repair—sanding, priming, blending, and painting—often determines whether the repair looks factory-finished or like a repair job. Skipping steps or rushing them can produce a surface that reveals itself through ripples, mismatched sheen, or primer bleed. Even when the dent visually disappears, the underlying surface may reveal flaws under direct sunlight or during a wash, which is why meticulous finishing is non-negotiable. Finishing is not simply about color matching; it is about achieving a seamless transition in texture and gloss between repaired area and the surrounding panels. The best practice is to blend the repaired section so that reflections align with the rest of the truck and the color matches precisely under OEM specifications or high-quality aftermarket equivalents. The paint itself, the clear coat, and the subsequent polishing steps must be coordinated so that the final surface is smooth and uniformly glossy. The sequence from assessment to repair and then to finishing is a chain that cannot be broken without compromising long-term results. For this reason, many rear-quarter repairs on trucks, especially those with significant deformation or paint damage, benefit from the expertise of a shop that can coordinate color matching, paint booth time, and UV curing. The investment in professional attention pays off in a repair that lasts and remains visually consistent with the rest of the vehicle. This is not a retreat from DIY learning; it is a recognition that some dent scenarios cross a threshold where the precision and control of professional equipment, lighting, and calibrated paint processes yield superior outcomes. When deciding how to proceed, the simplest guidance is to align the method with the dent’s reality: shallow dents with intact paint are prime candidates for PDR; deeper depressions, complex creases, or dents near edges require traditional repair or a hybrid approach that often justifies a shop visit. Pro tip: always secure a written estimate and, where possible, a warranty on the repair. A reputable shop will not only quote the scope of work but also describe the steps they will take to protect adjacent panels, minimize heat exposure to surrounding paint, and verify color accuracy after application. The value of professional guidance becomes particularly evident when the dent resides on a thermoplastic panel or in an area where the structural reinforcement complicates access. In such cases, the expertise to choose the safest sequence of steps, or to determine when a panel needs to be replaced rather than repaired, protects you from long-term costs that can arise from misguided DIY efforts. For readers seeking more practical, step-by-step insights and to micro-calibrate expectations against your specific truck model, there is a wealth of practical guidance available in the broader automotive repair community. The path to a well-executed repair is not a single move but a coordinated series of decisions that respect material science, structural integrity, and the art of blending finishes. If you want to extend your understanding beyond this chapter, the Master Truck Repair blog offers a range of practical advice and ongoing conversations about maintenance and repair in real-world settings. You can explore those insights here: Master Truck Repair blog. As you move from judgment to action, keep this in mind: the most durable outcomes emerge when you treat the rear quarter panel as a living part of the truck, with a history, a material identity, and a future that depends on careful repair choices. When you balance a method to the panel’s material, check for hidden damage, prepare the surface meticulously, and respect the finishing process, you create a repair that not only looks right but stands up to time and use. Beyond the immediate dent, you’re investing in the vehicle’s overall integrity and resale value. This is the practical core of dent repair on trucks—lessons learned through experience, reinforced by methodical checks, and executed with a steady hand rather than improvisation. For those who want a deeper, more formal walkthrough of standard dent repair practices, reputable professional resources offer detailed guidelines and cost estimates that align with industry standards. External resources such as CarMD provide professional insights into dent repair techniques and the realities of cost and feasibility, which can help you calibrate expectations and approach repairs with informed confidence. External resource: https://www.carmd.com/repair-tips/dent-repair-truck-quarter-panel/
Final thoughts
Proper dent repair of truck rear quarter panels is crucial not only for aesthetics but also for the enduring performance and longevity of a fleet. By understanding various techniques such as Paintless Dent Repair, recognizing the significance of material assessment, trimming down costs with informed choices, and avoiding common pitfalls, fleet managers and trucking company owners can safeguard their assets. This not only enhances the overall appearance of vehicles but also contributes to their operational efficacy. Investing time and resources into reliable dent repair methods will ensure that trucks remain in top condition, reducing downtime and elevating business reputation.

